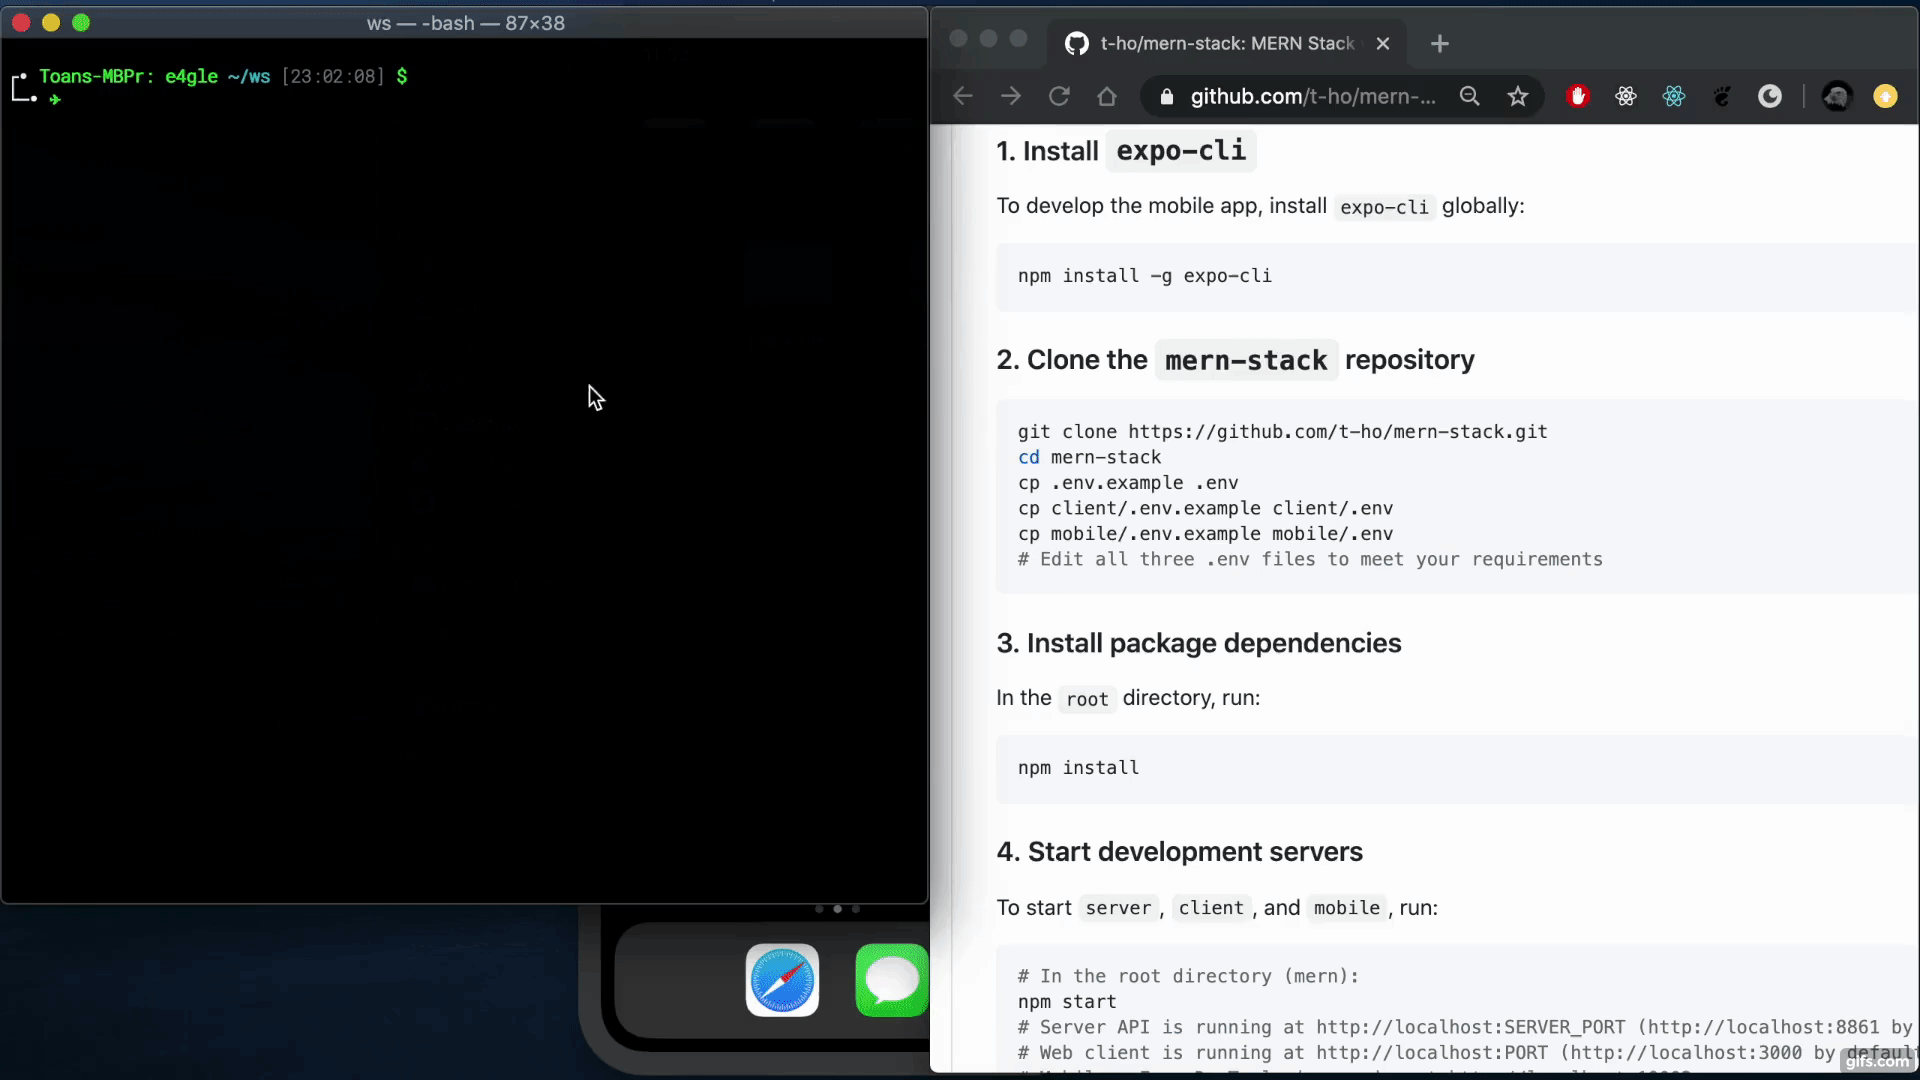
React Native Google Sigin Example
Step 1 - Install Google Signin
Install @react-native-community/google-signin
npm install @react-native-community/google-signin

npx pod-install
Step 2 - Google Console project and OAuth credentials
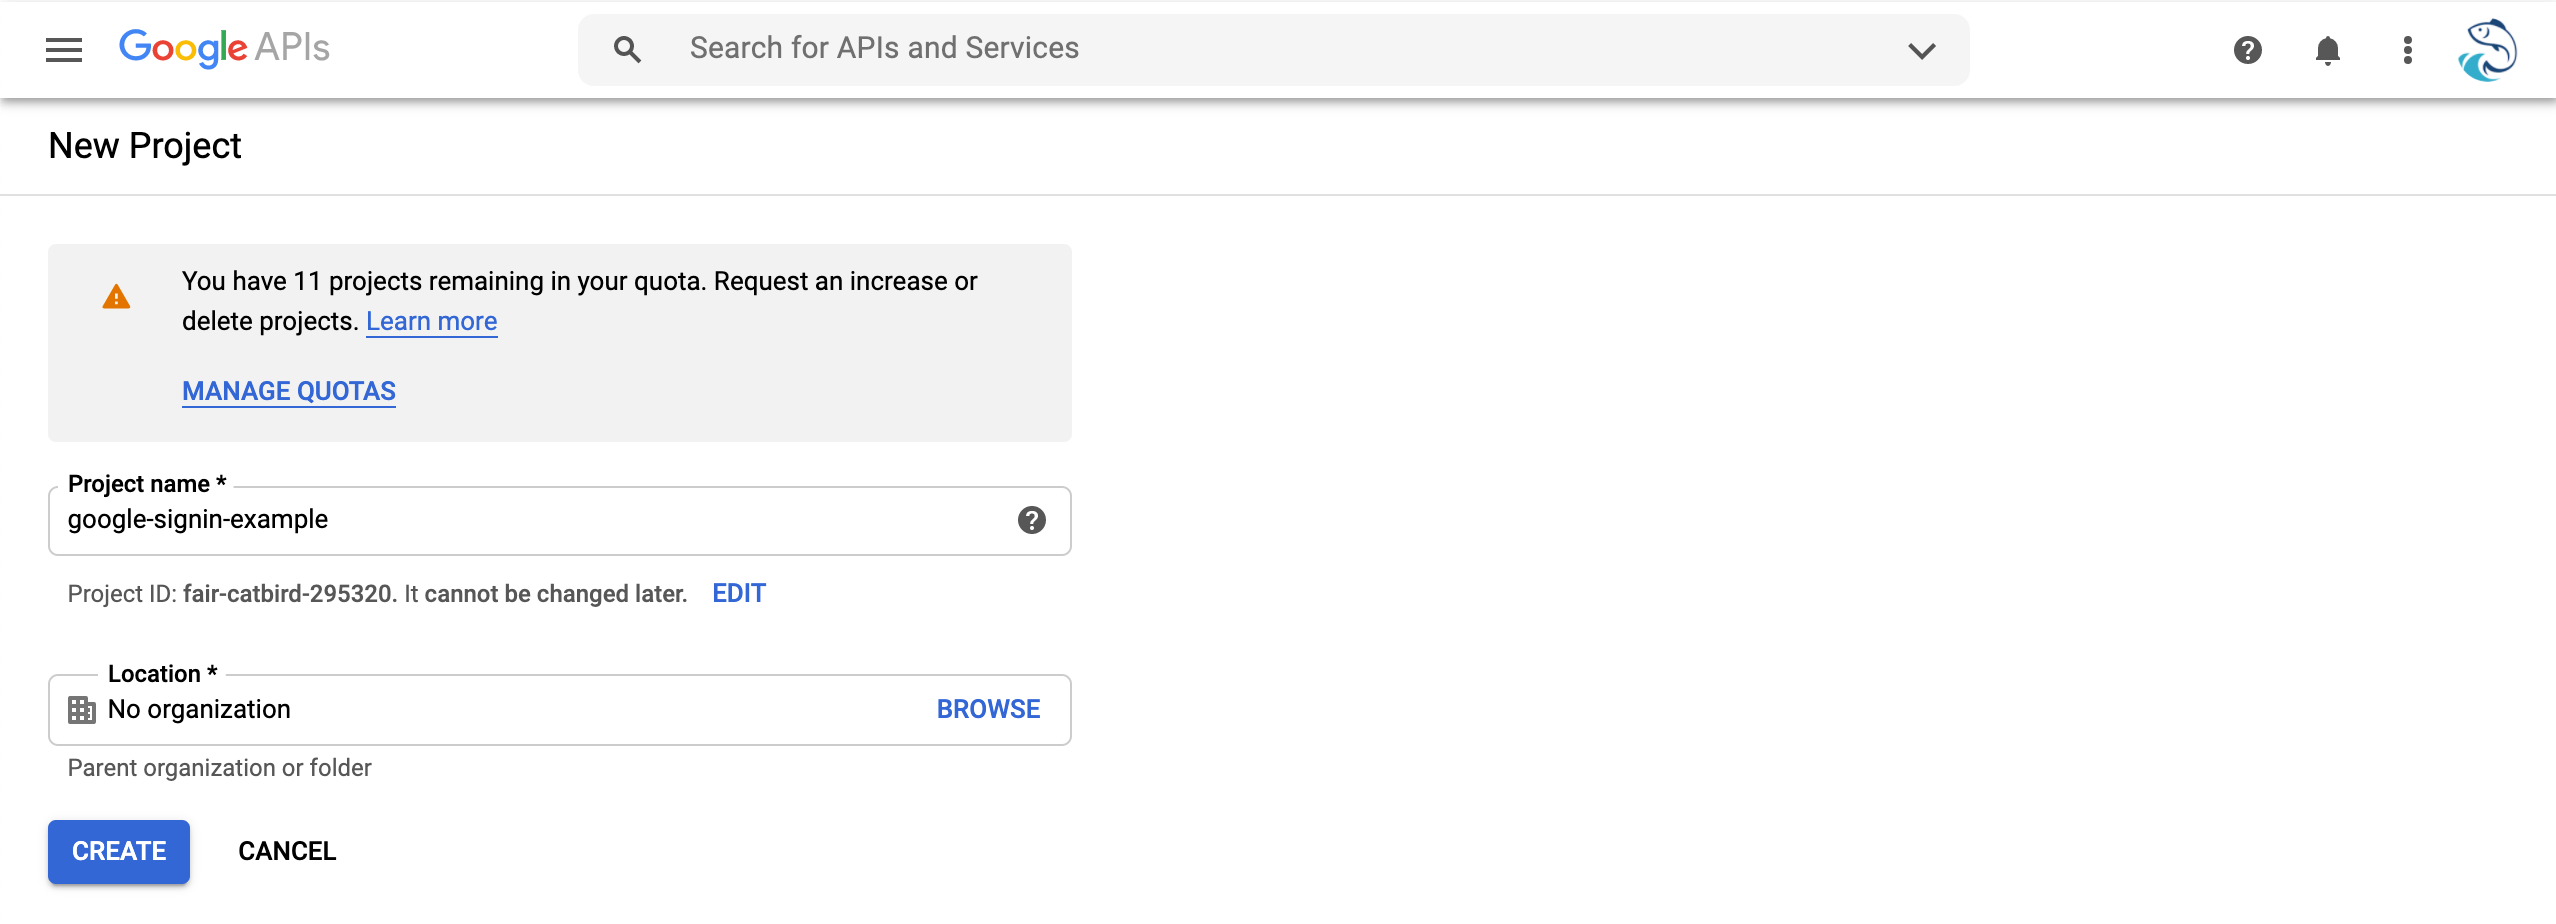
Step 2.1 - Create Google Console project
Go to Google Console
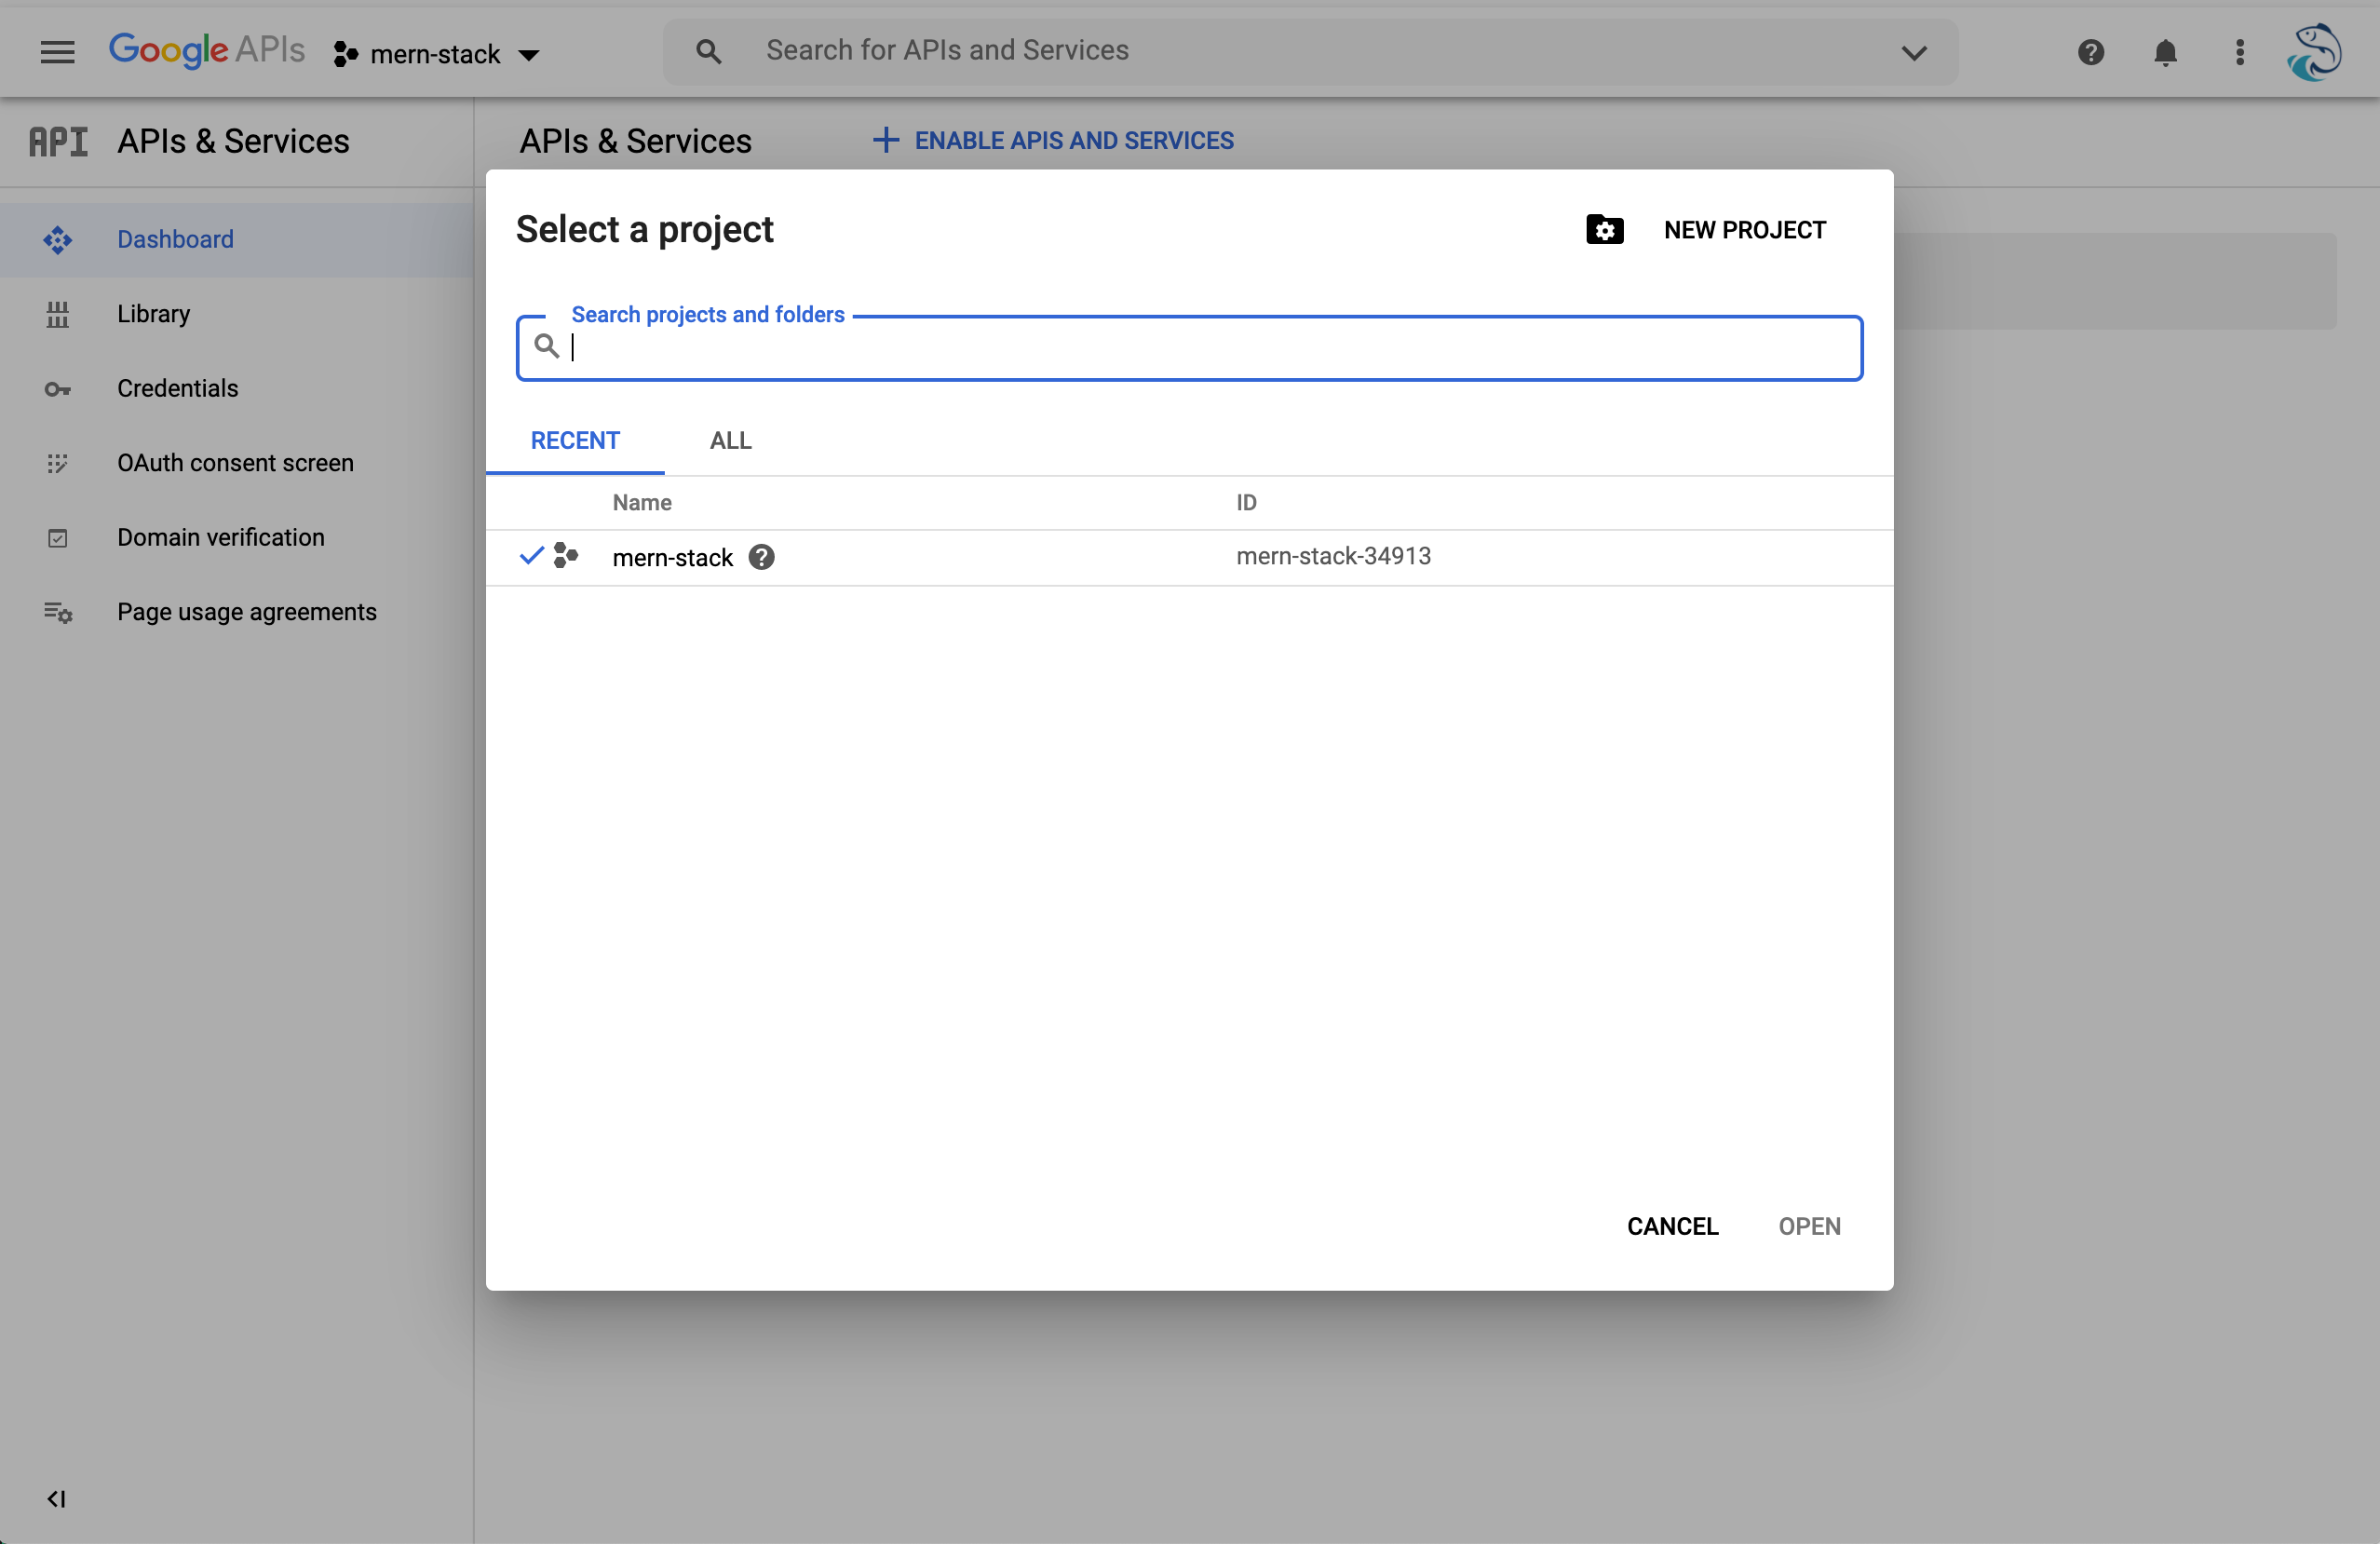
Choose New Project > enter your project name > Create:
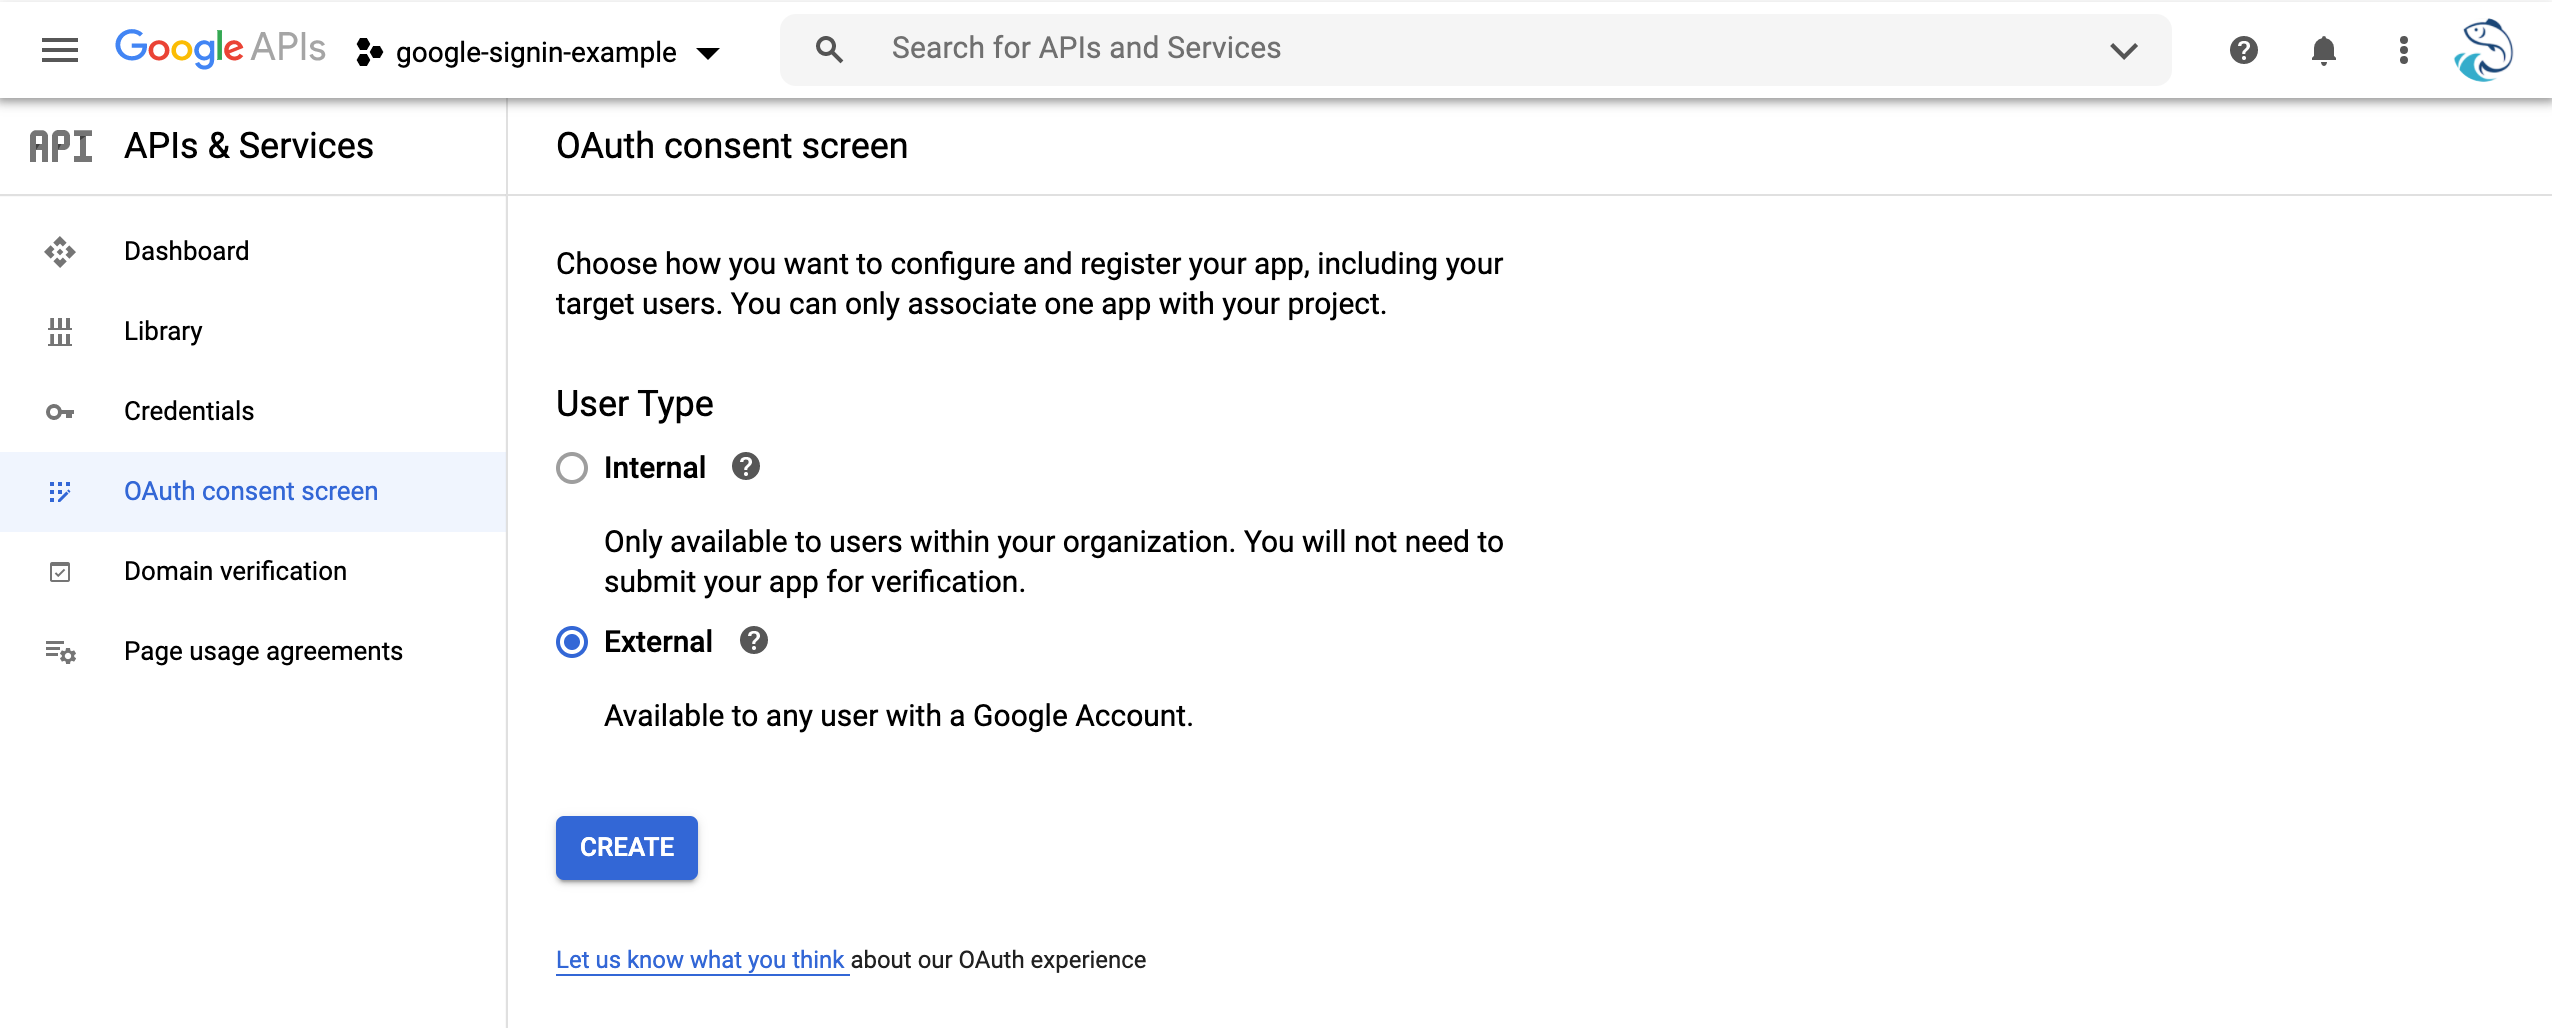
Go to OAuth consent screen > select External under User Type section > Create
In the App information section, enter your App name and User support email
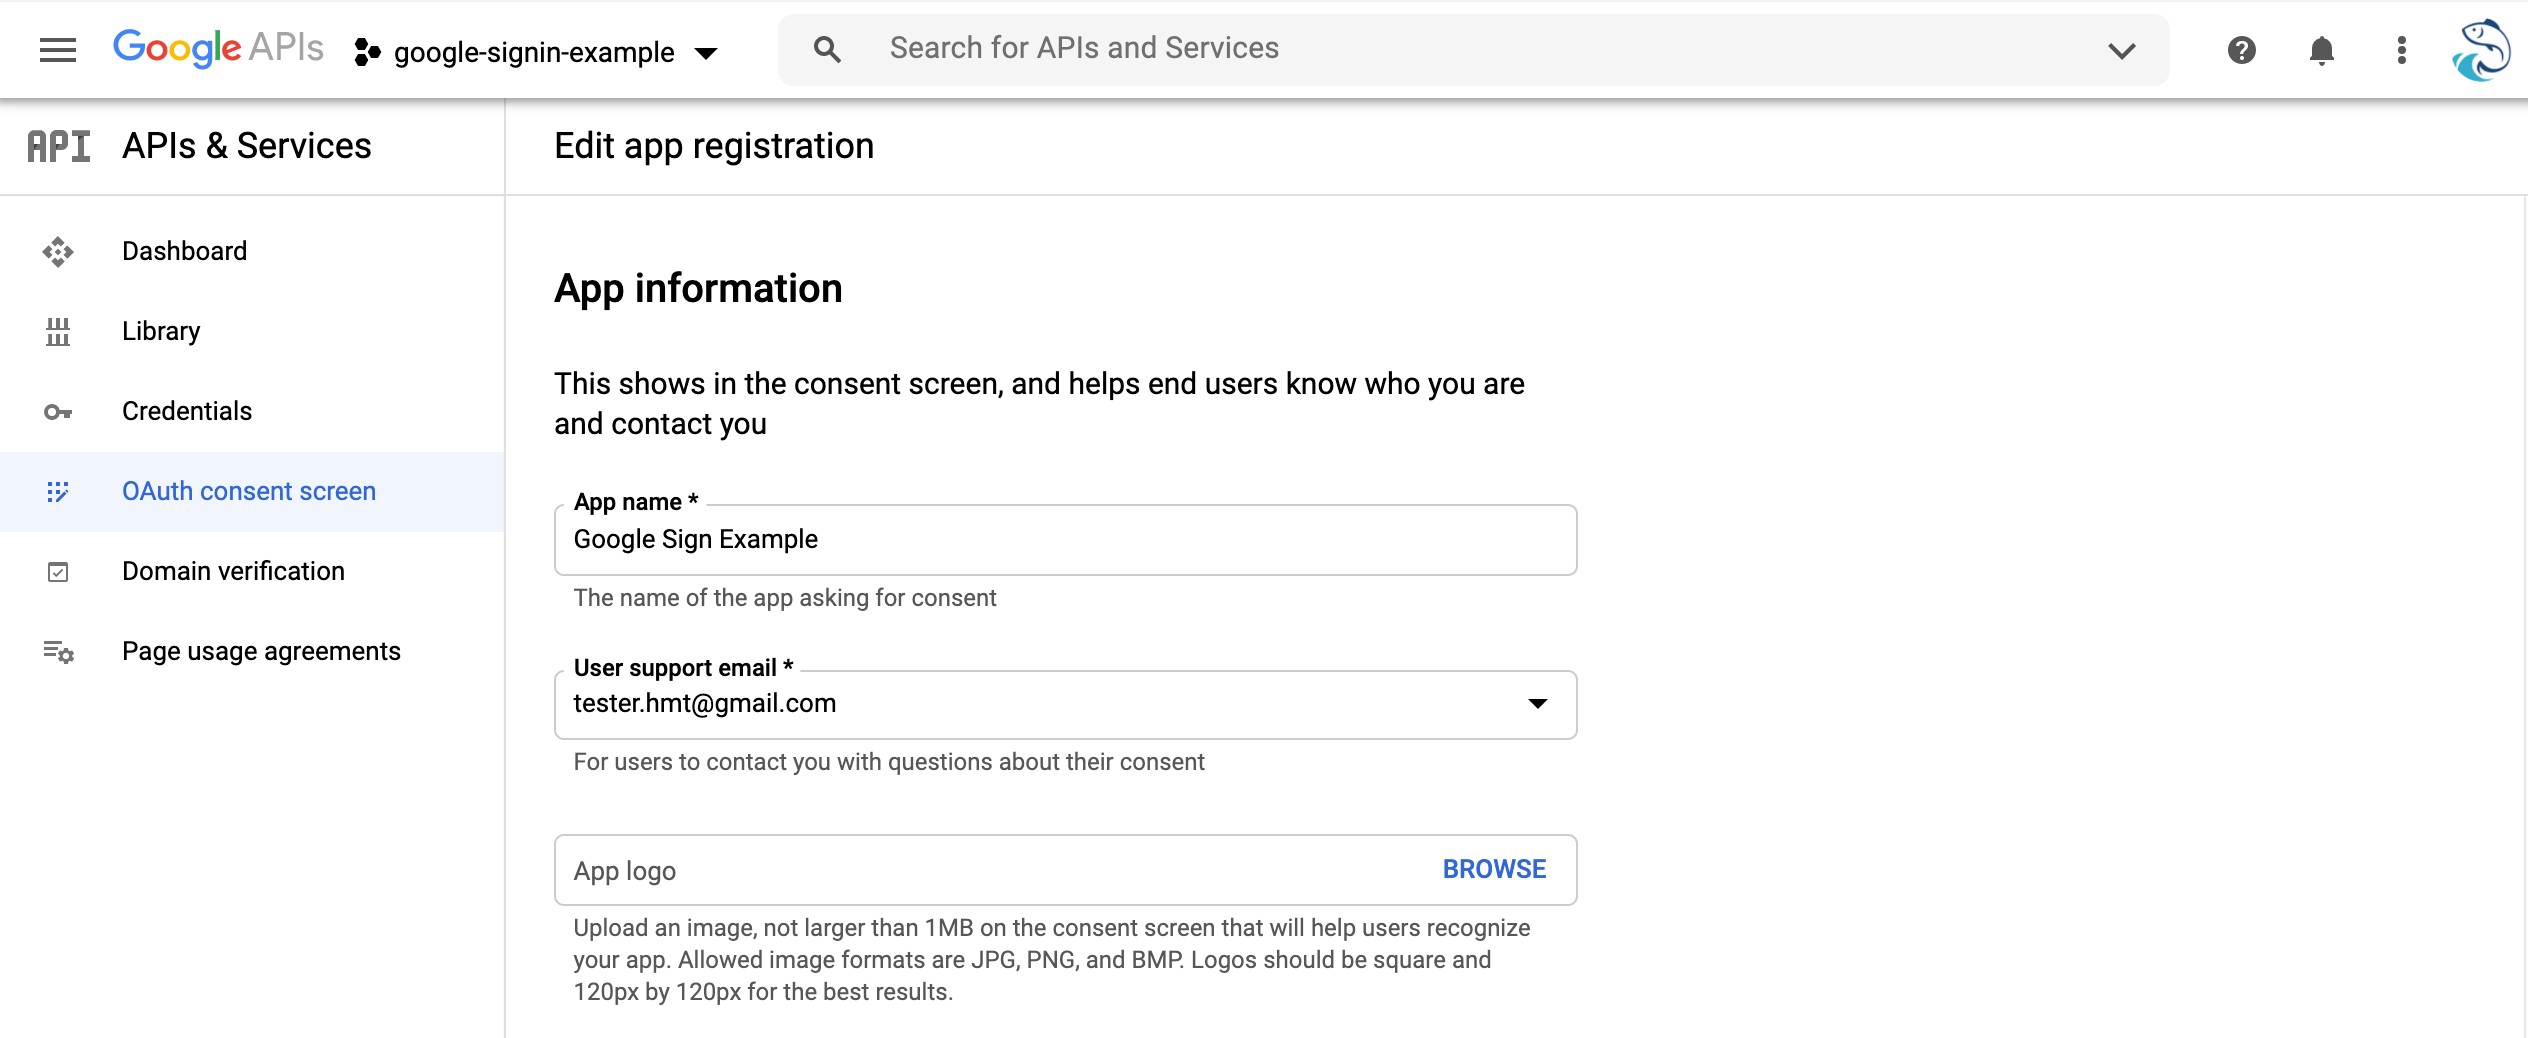
In the Developer contact information section, enter your Email addresses
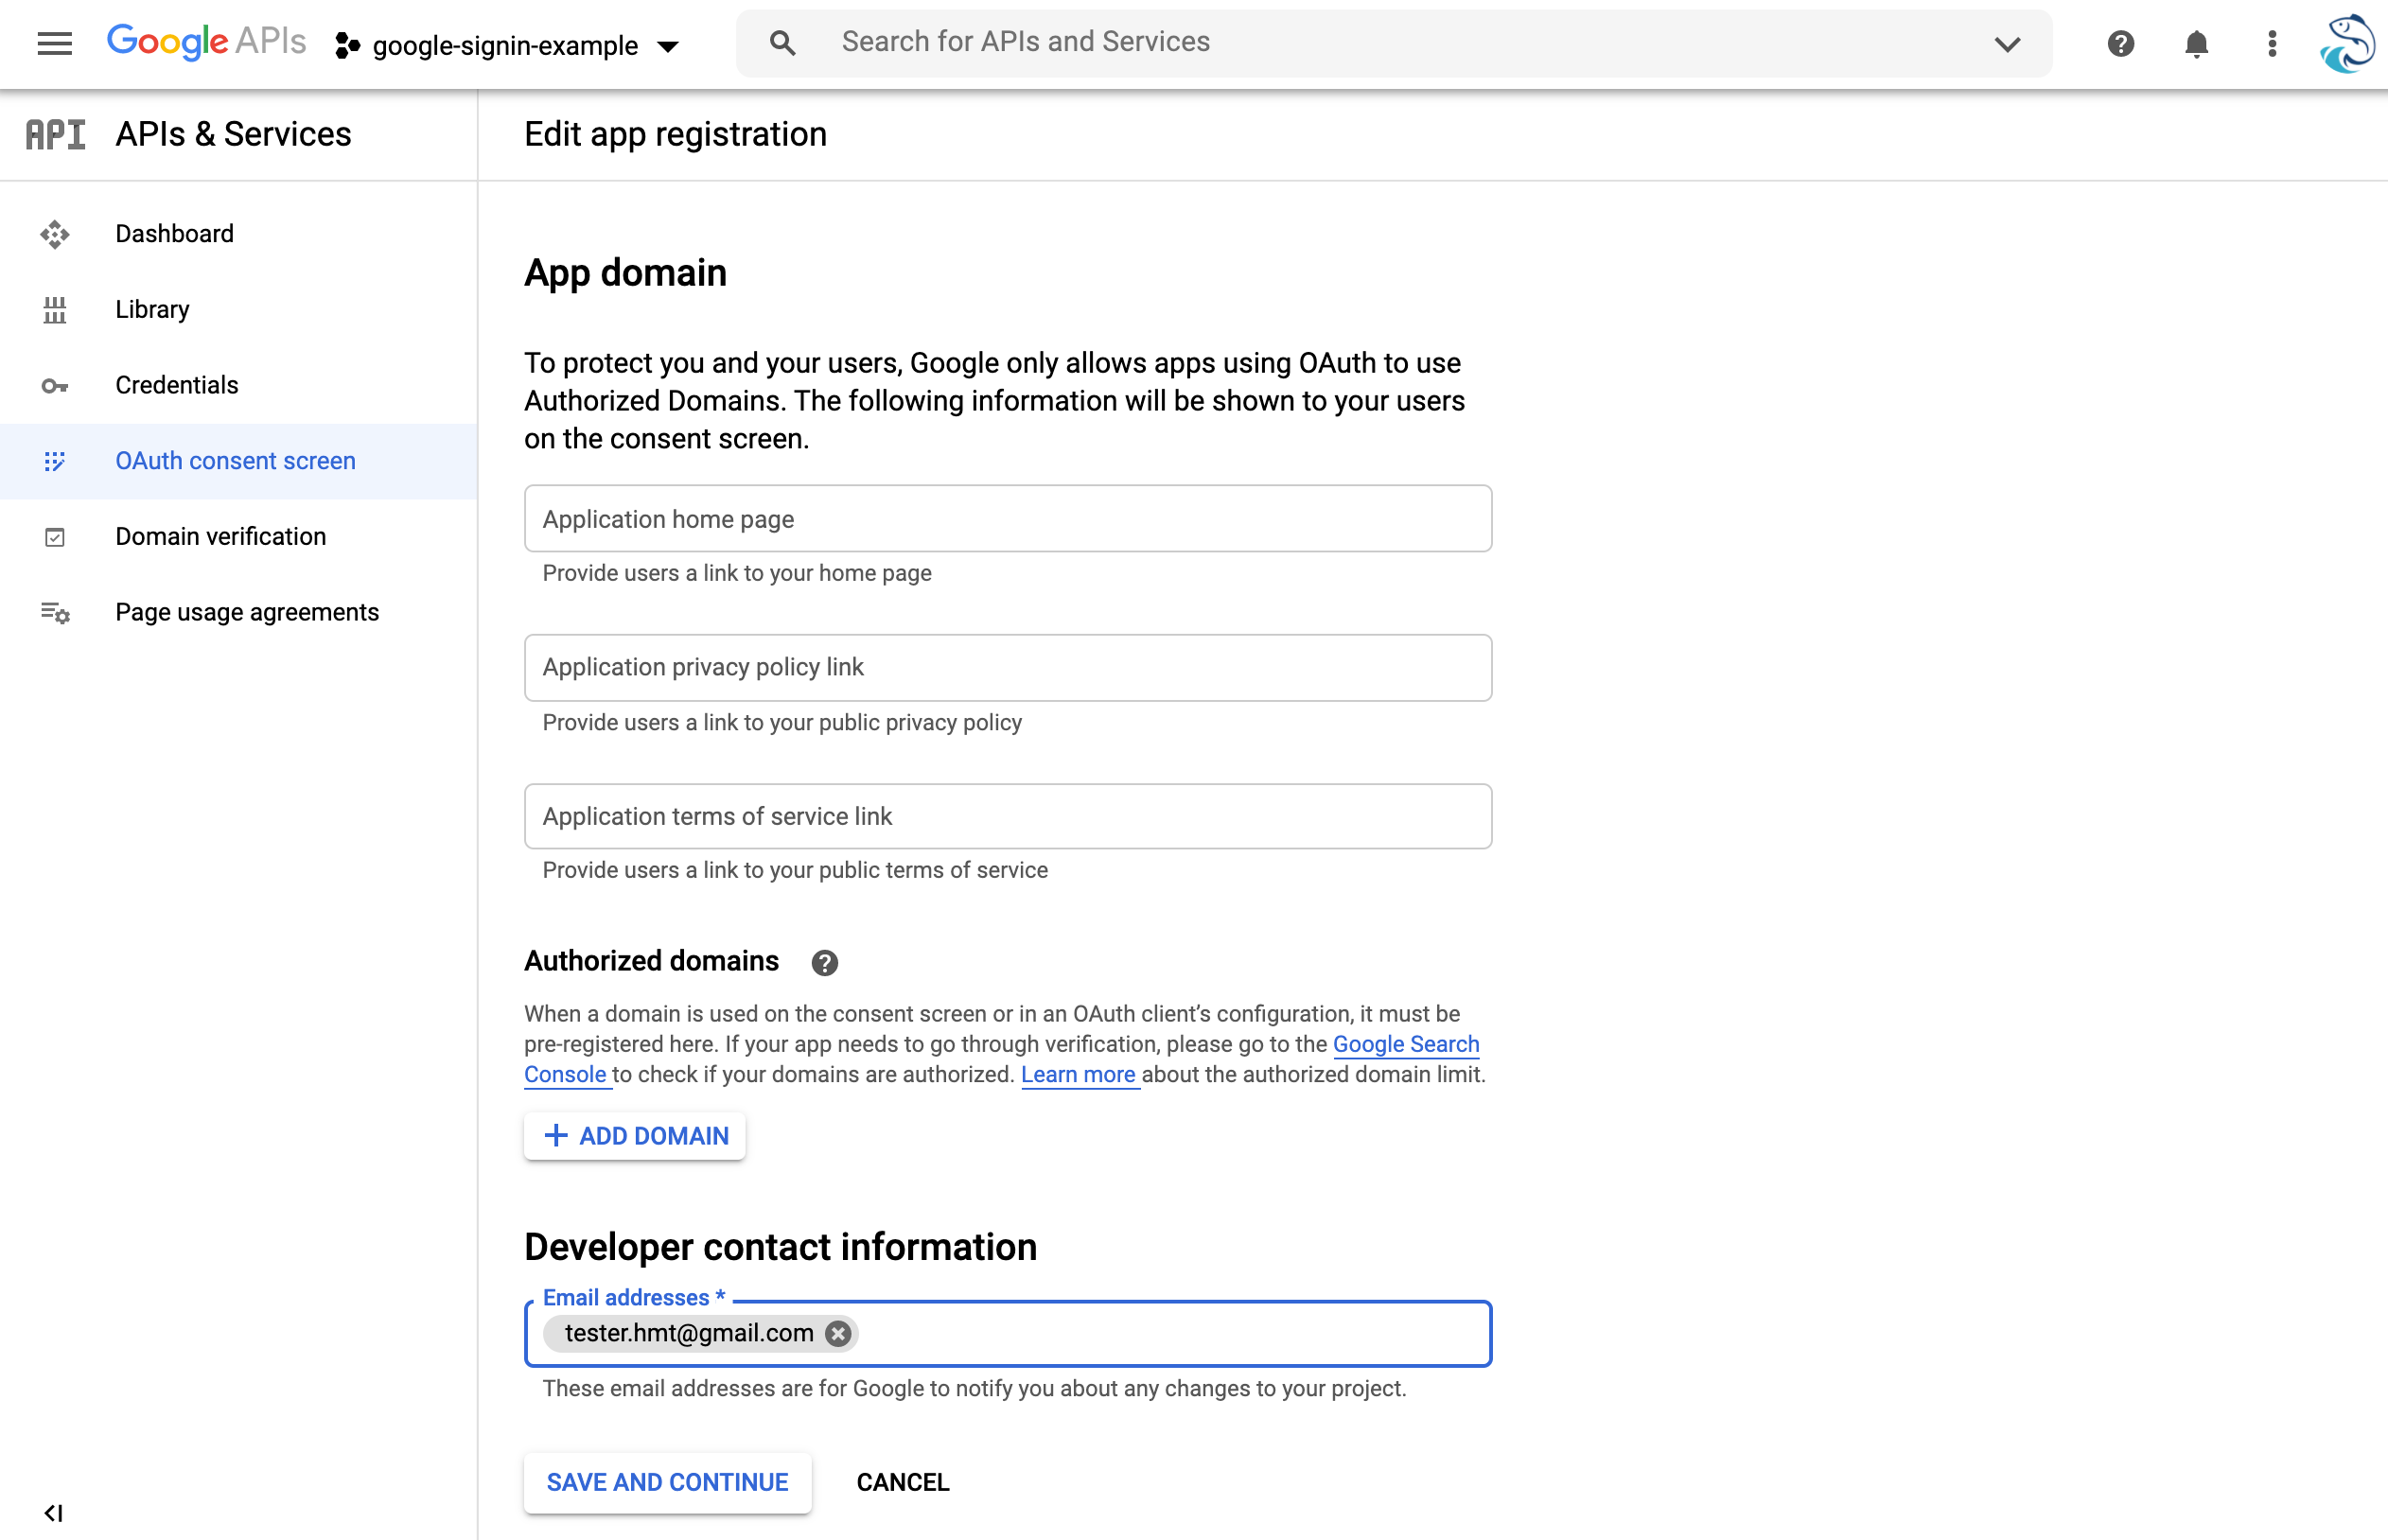
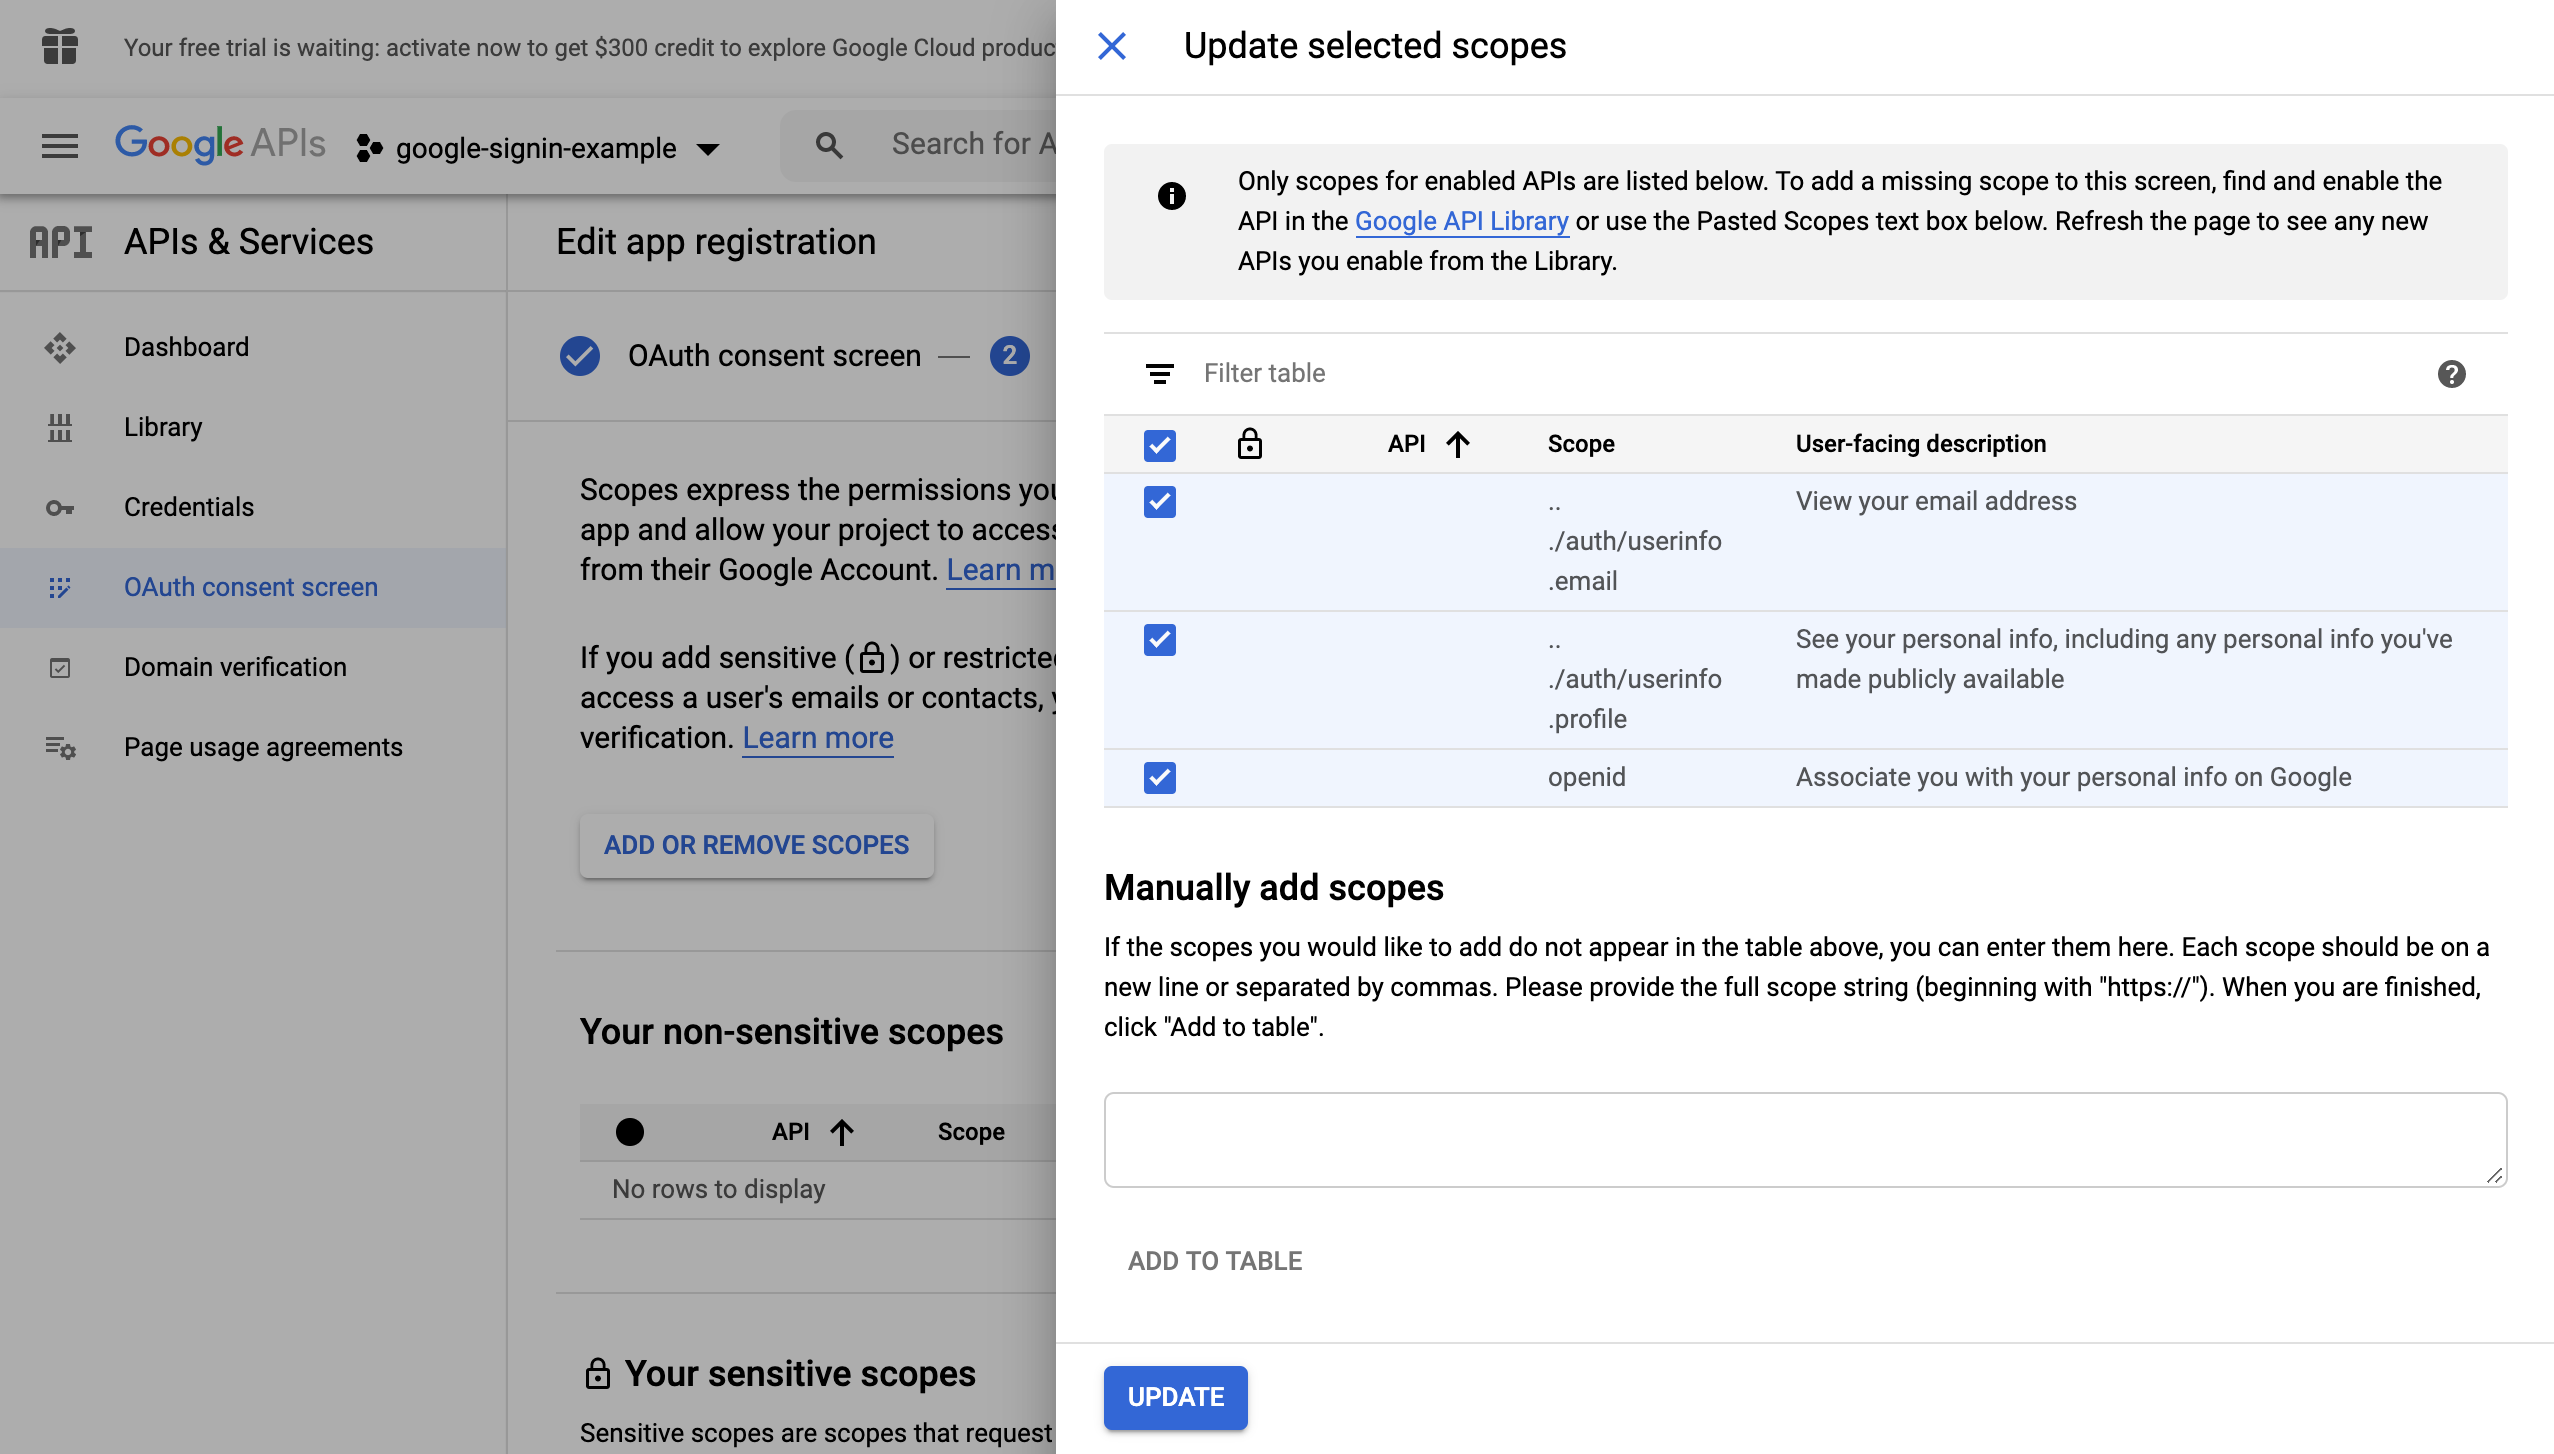
Then click SAVE AND CONTINUE. In the Scopes step, click ADD OR REMOVE SCOPES > Select all 3 options > Update
Step 2.2 - Create Web Client OAuth Credentials
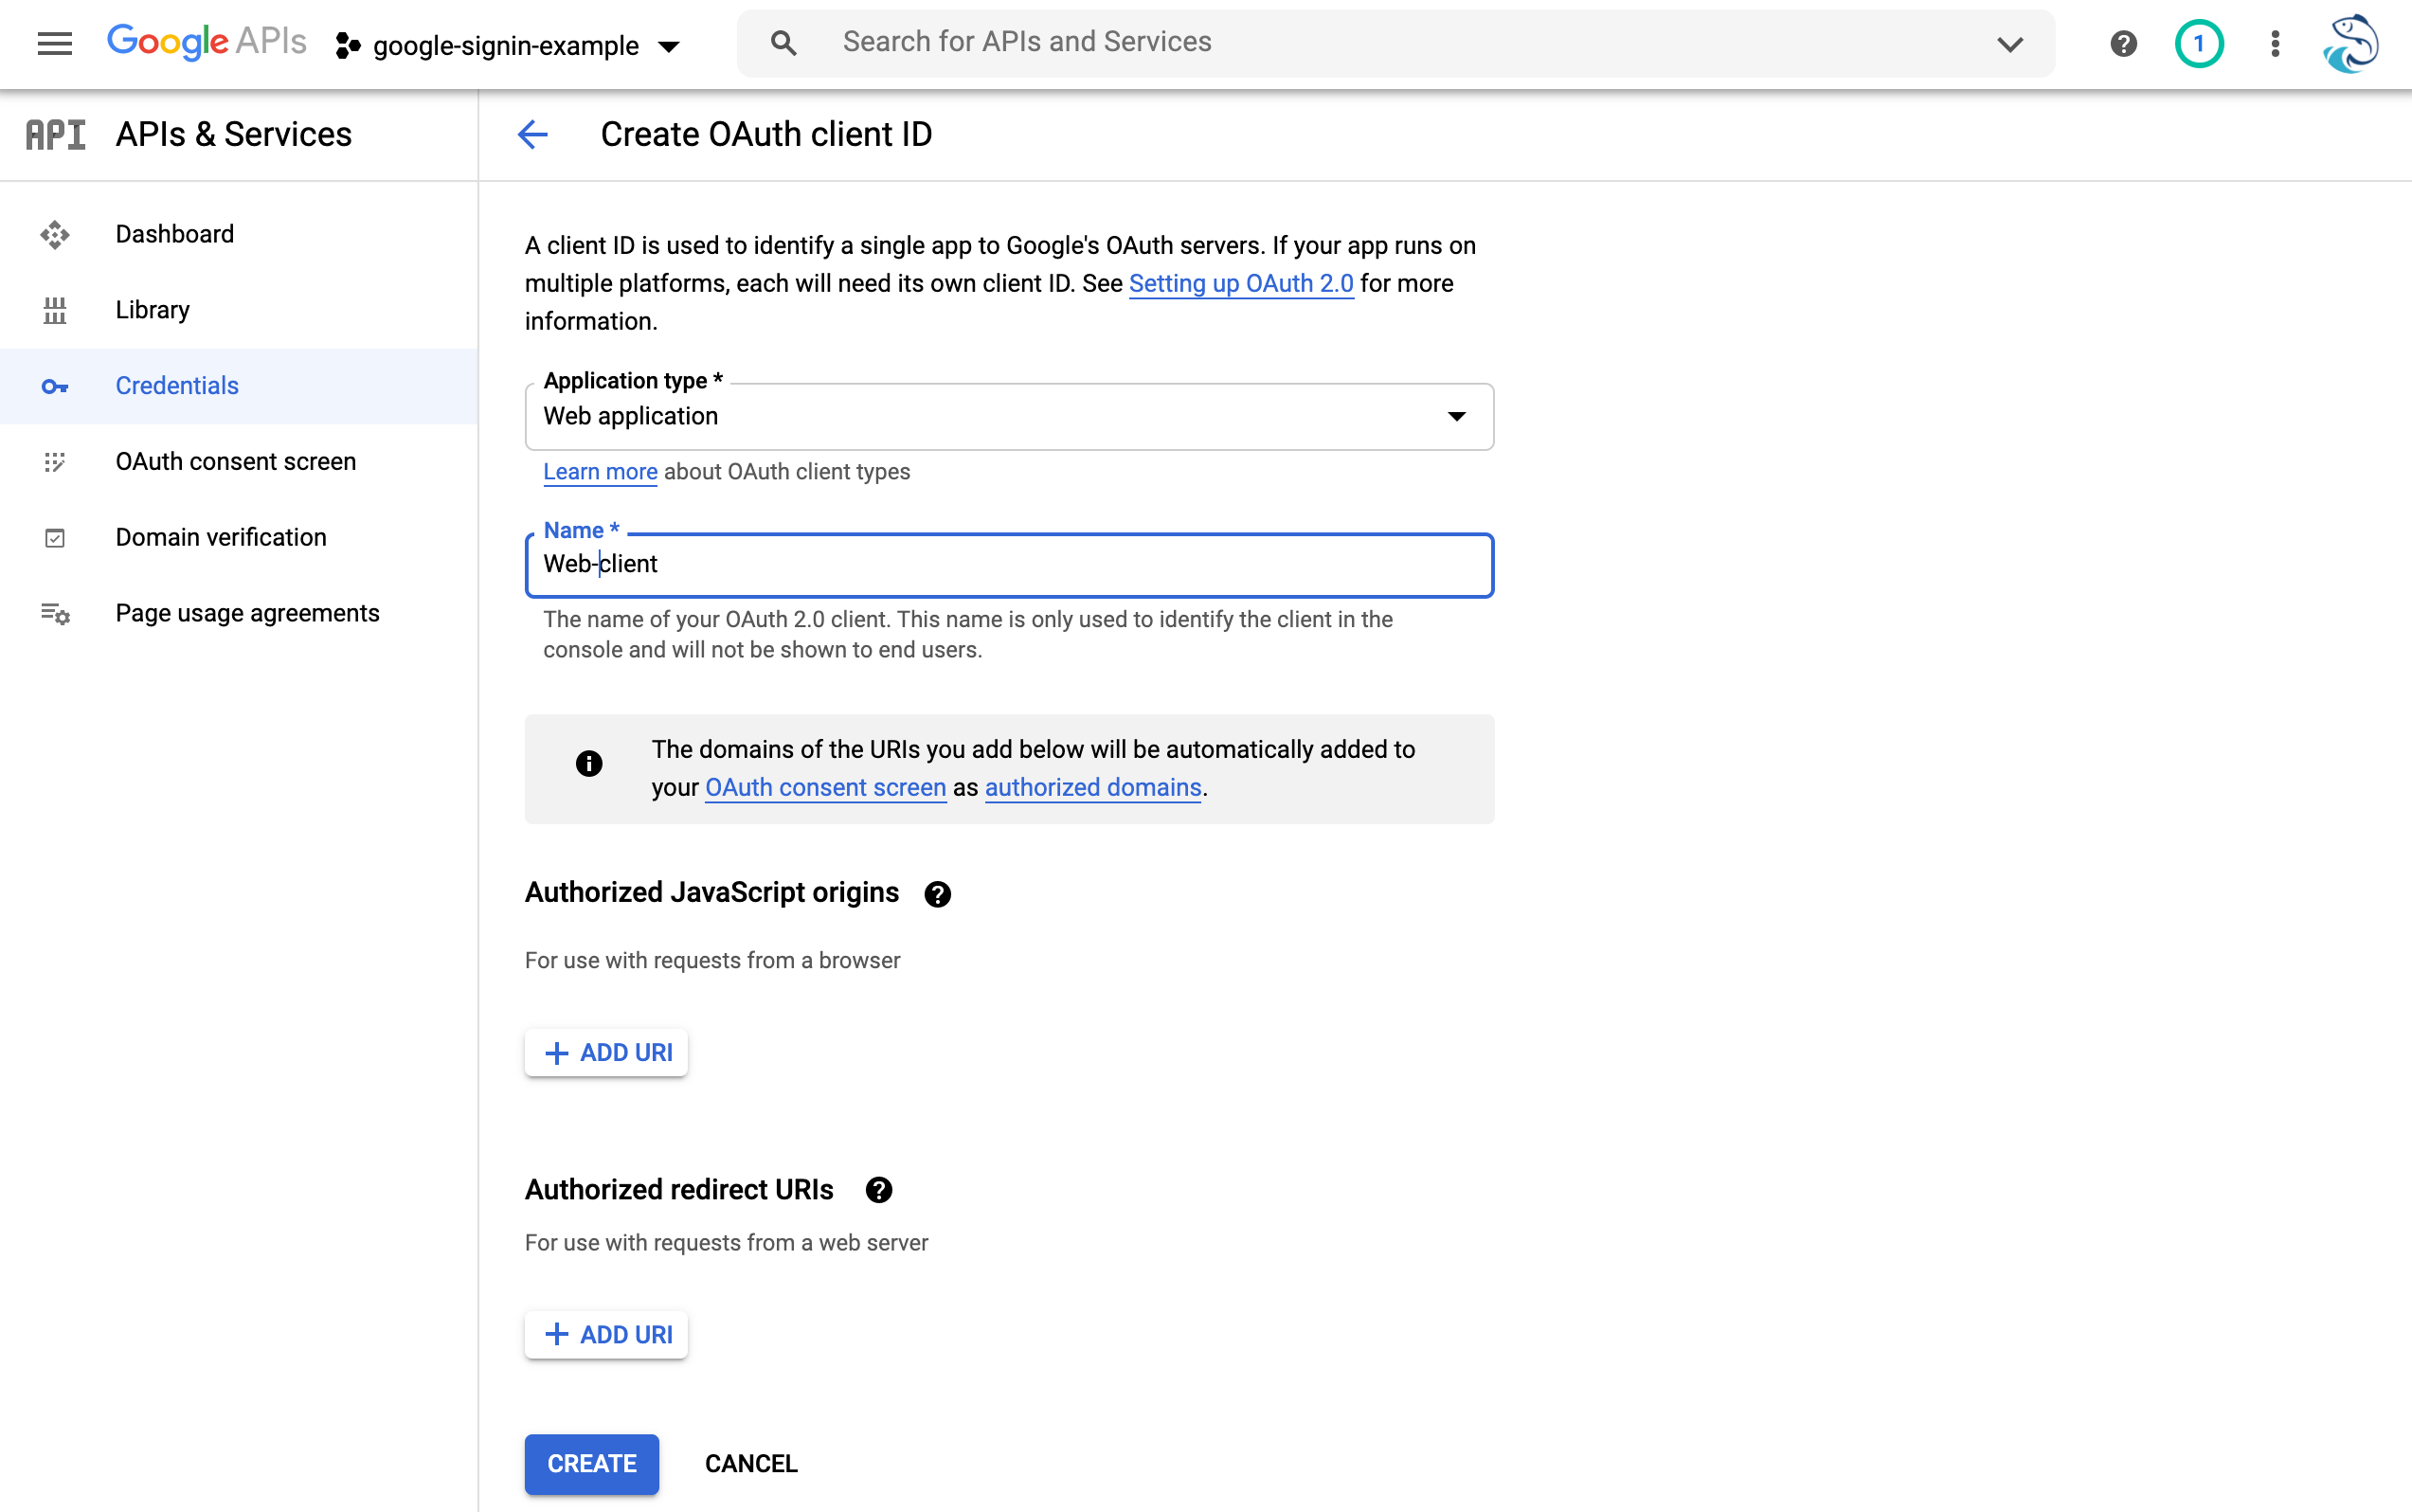
Click Credentials > CREATE CREDENTIALS > OAuth client ID > Choose Web application > Enter Name > CREATE
Please take a note of your Web-Client-Id, in my case: 564624695351-litamdvsum4g23a49kalorvsut9v0es4.apps.googleusercontent.com
Step 2.3 - Create Android Client OAuth Credentials
Run the command below the get the fingerprint of the debug keystore
keytool -keystore ./android/app/debug.keystore -list -v
Enter keystore password:
Keystore type: PKCS12
Keystore provider: SUN

Your keystore contains 1 entry

Alias name: androiddebugkey
Creation date: Nov. 11, 2020
Entry type: PrivateKeyEntry
Certificate chain length: 1
Certificate[1]:
Owner: C=US, O=Android, CN=Android Debug
Issuer: C=US, O=Android, CN=Android Debug
Serial number: b1b8e89c8948a3c4
Valid from: Wed Nov 11 14:22:59 PST 2020 until: Sun Mar 29 15:22:59 PDT 2048
Certificate fingerprints:
         SHA1: 74:9B:B4:80:44:12:C3:B0:D7:68:1E:85:15:2C:F5:4C:97:88:E0:6E # <-- the fingerprint
         SHA256: 89:CC:0F:DF:92:73:CD:F3:F8:31:68:92:1D:D6:12:5A:A2:C3:A7:E2:C9:29:32:53:D4:EA:DC:BA:BF:D3:ED:25
Signature algorithm name: SHA256withRSA
Subject Public Key Algorithm: 2048-bit RSA key
Version: 3

Extensions:

#1: ObjectId: 2.5.29.14 Criticality=false
SubjectKeyIdentifier [
KeyIdentifier [
0000: E6 19 DF 2A 88 17 39 51   5C CD 7C BA AC A2 36 0E  ...*..9Q\.....6.
0010: B5 16 49 5D                                        ..I]
]
]
*******************************************
*******************************************
On Google console, click Credentials > CREATE CREDENTIALS > OAuth client ID > Choose Android > Enter:
NamePackage name- You can find this in yourandroid/app/build.gradlefile (defaultConfig.applicationId)SHA-1 certificate fingerprint
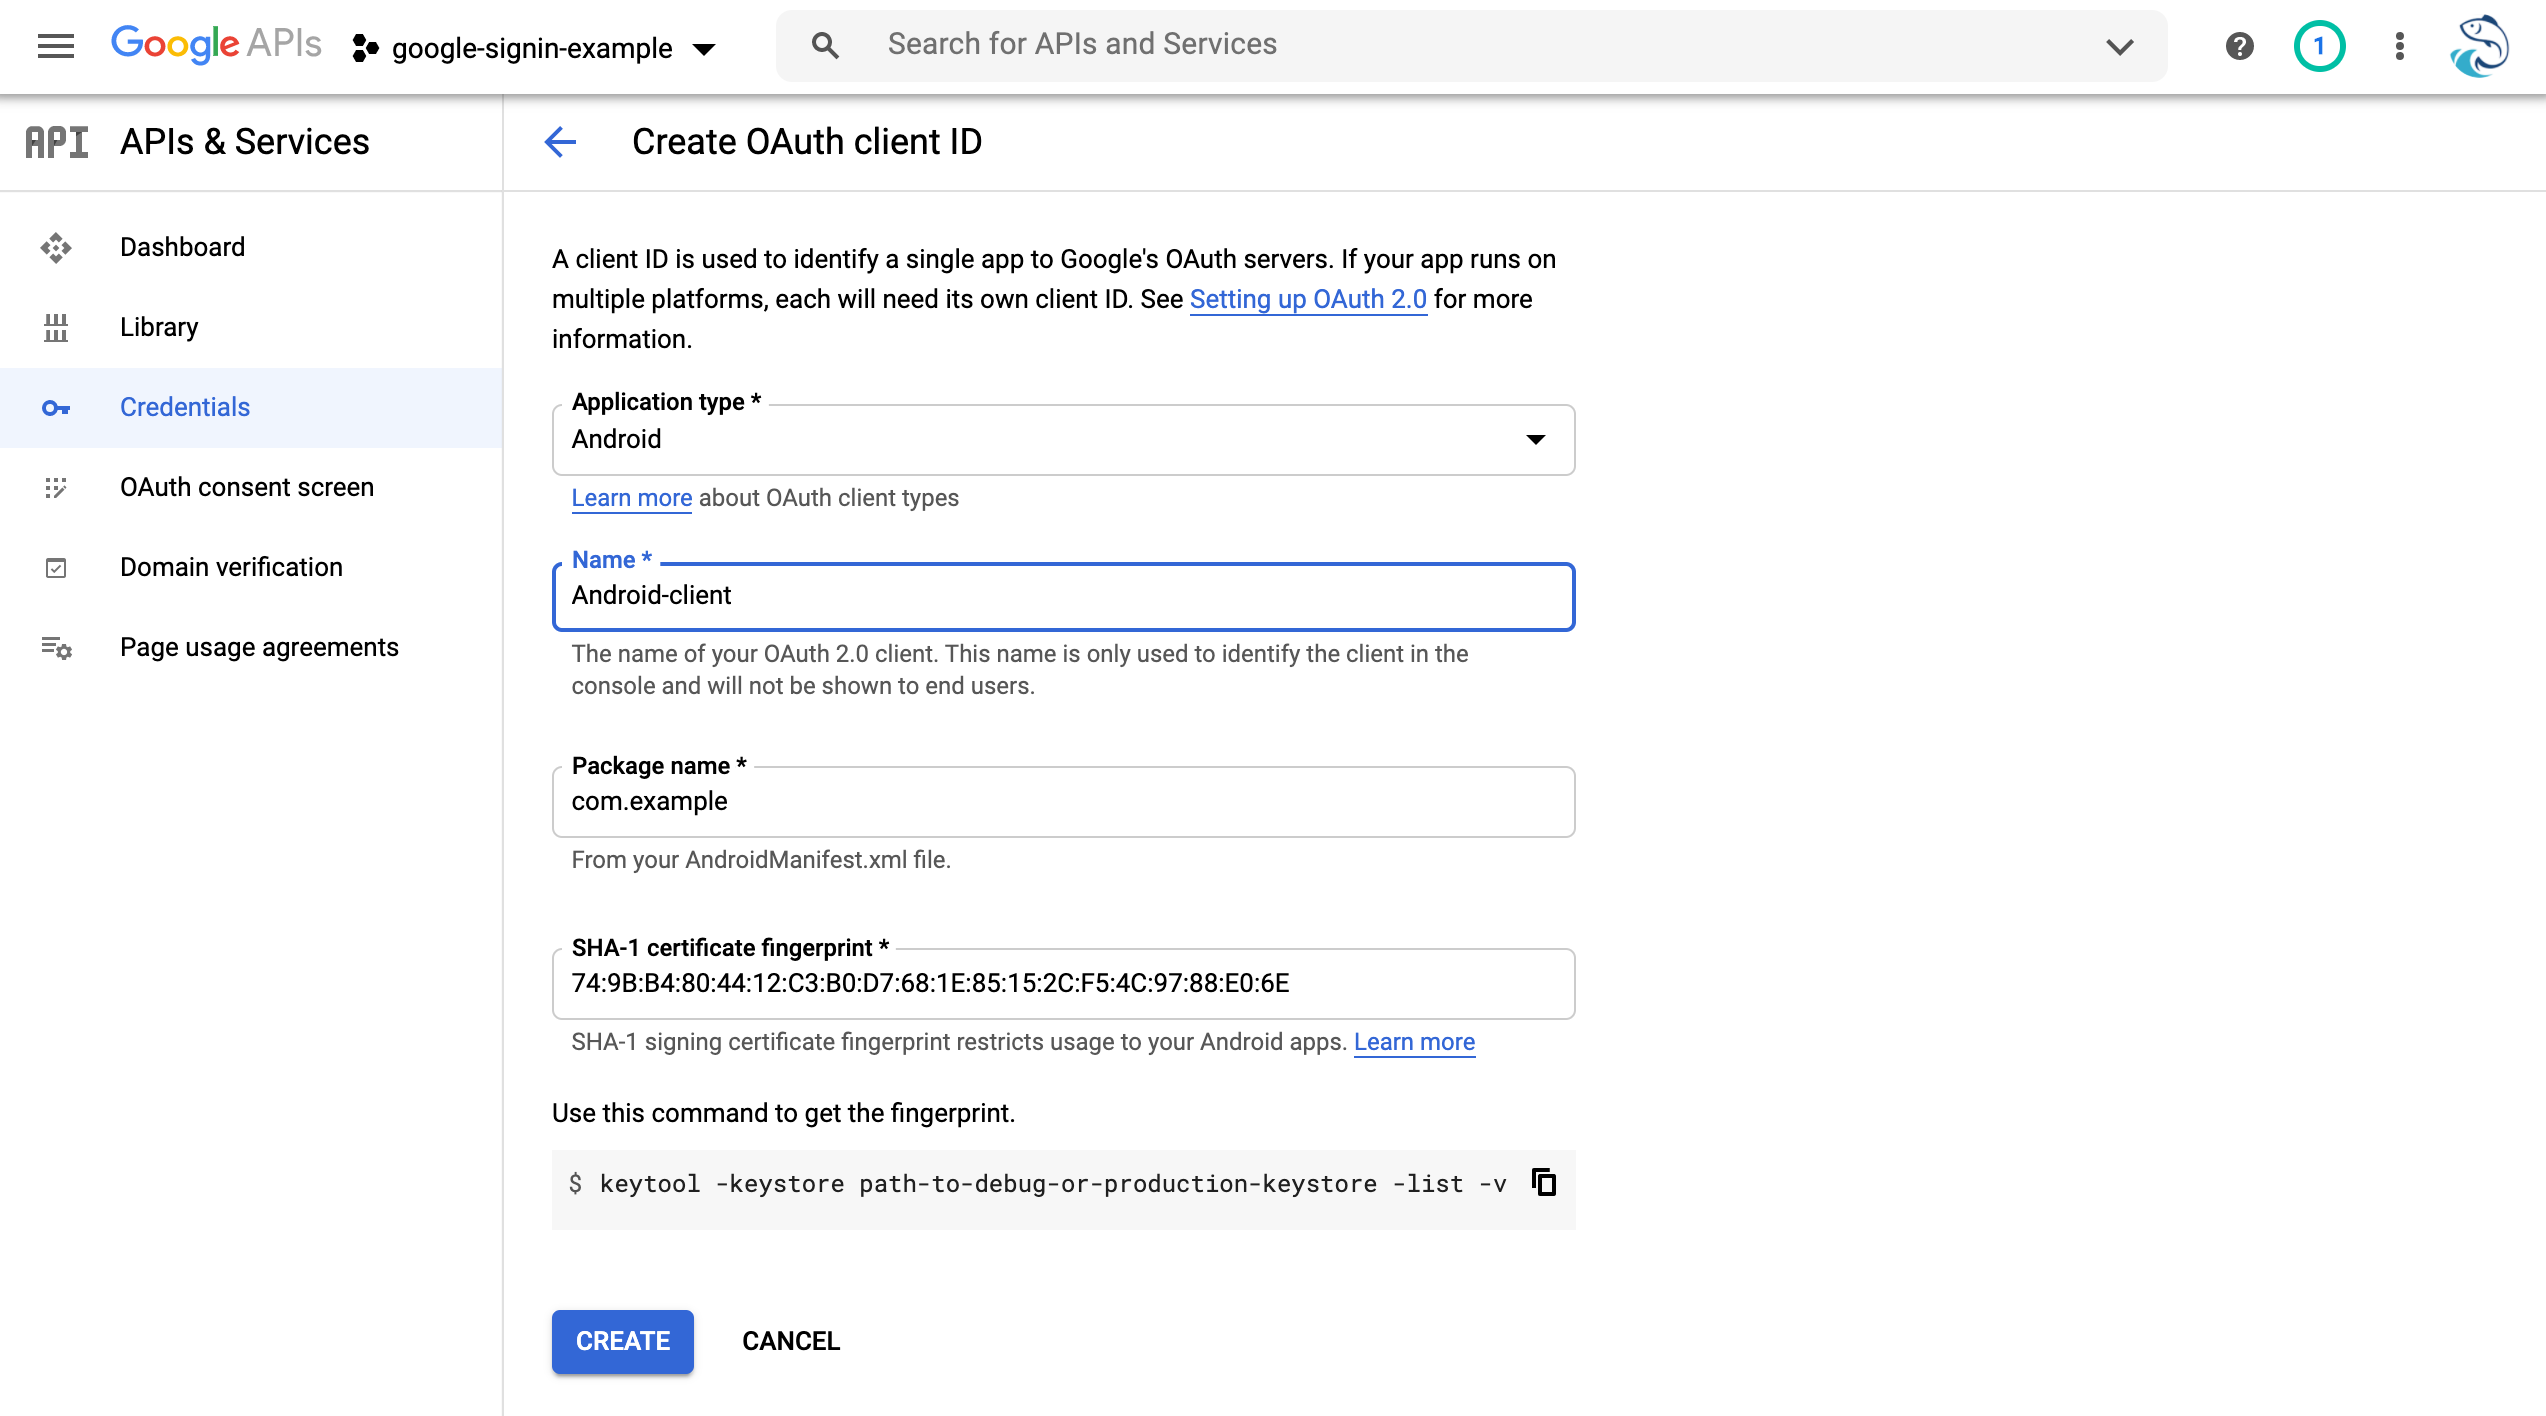
Please take a note of your Android-Client-Id, in my case: 564624695351-msoe9i38okusu98pvsj3dpt25phm1sa6.apps.googleusercontent.com
Step 2.4 - Create iOs Client OAuth Credentials
On Google console, click Credentials > CREATE CREDENTIALS > OAuth client ID > Choose iOS > Enter:
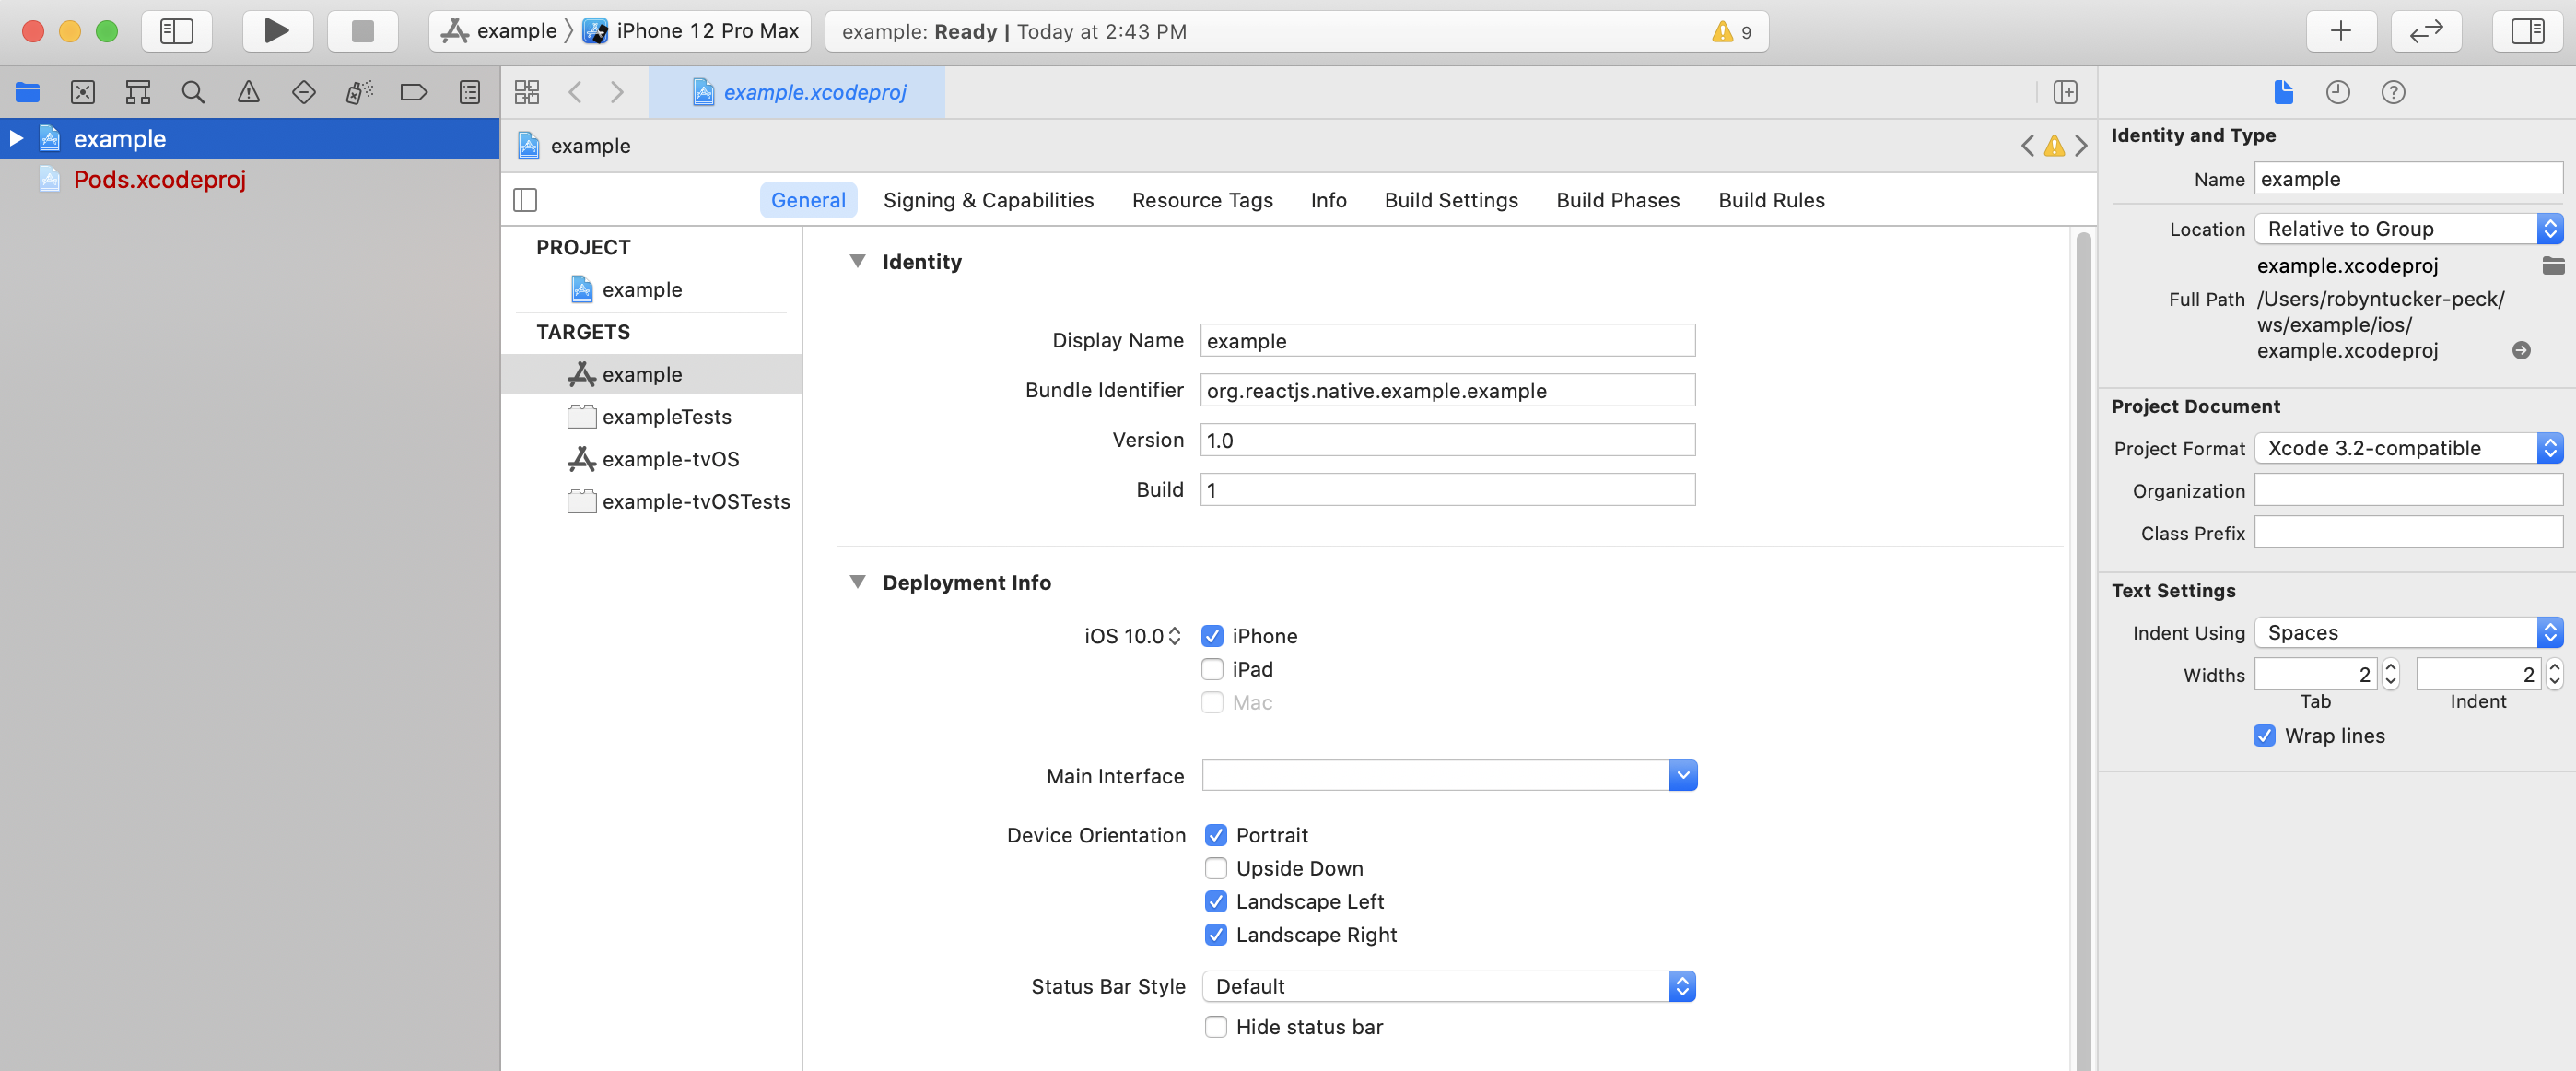
NameBundle ID- See screenshot below
Find Bundle Identifier in Xcode:
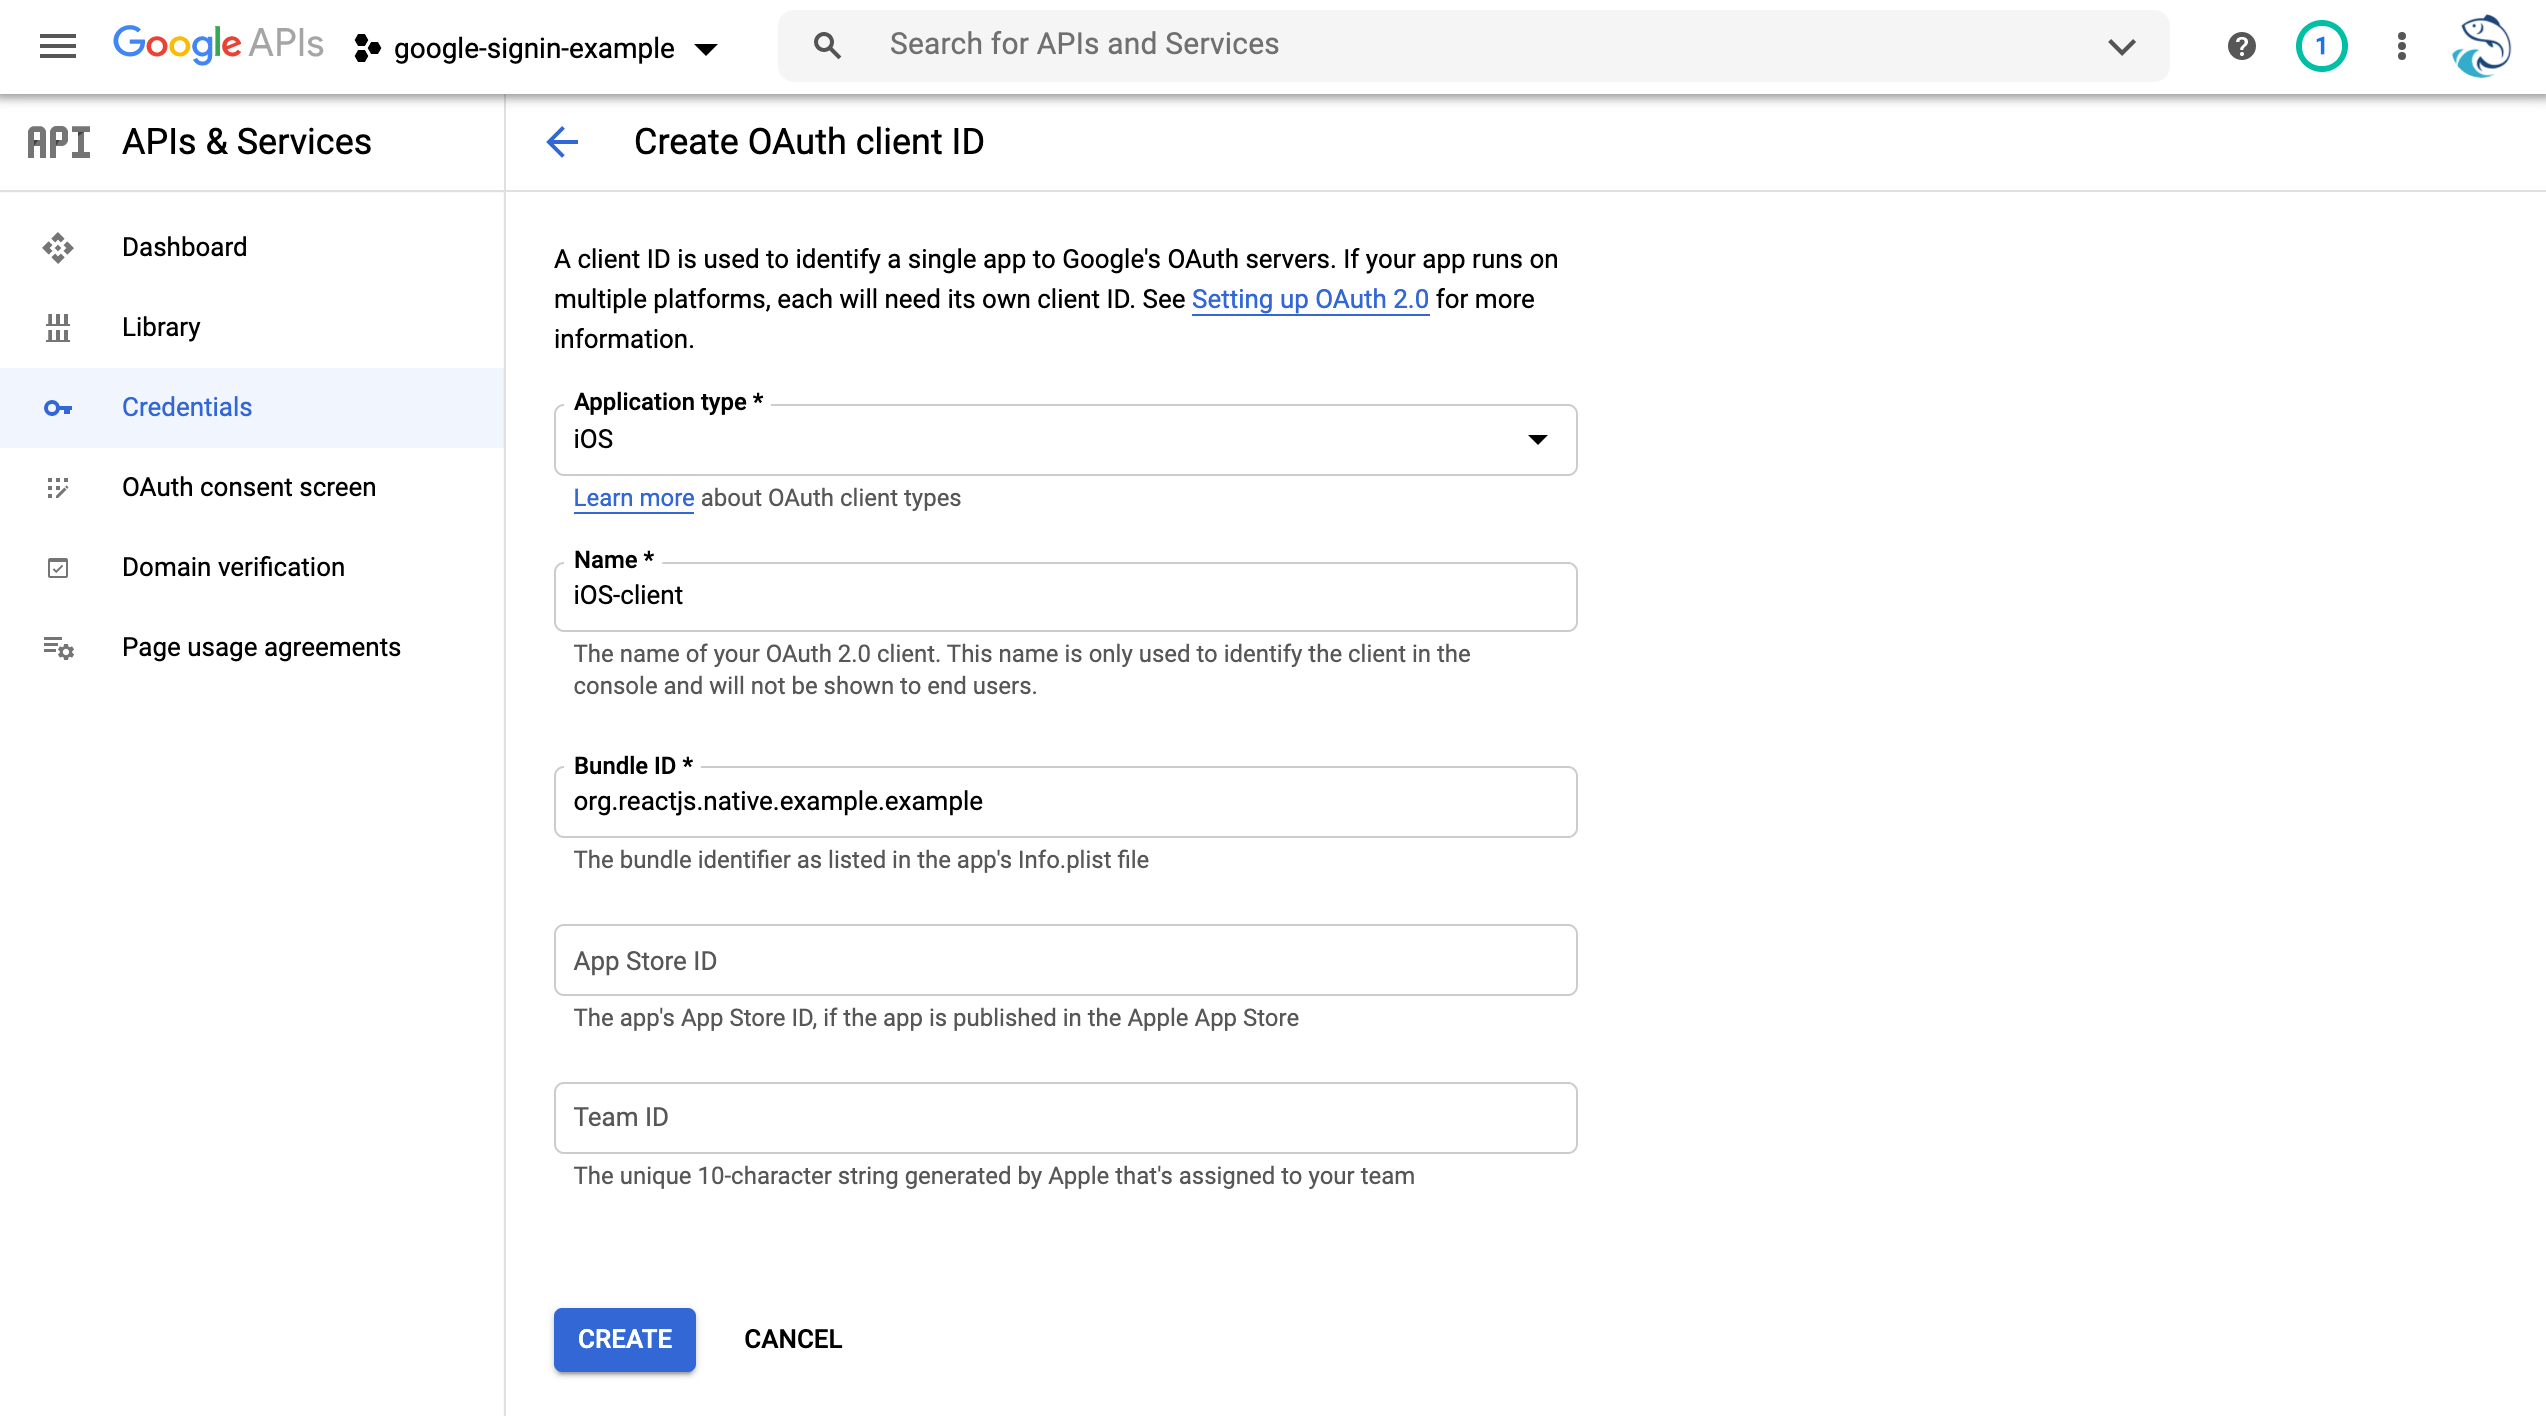
Please take a note of your iOS-Client-Id, in my case: 564624695351-km9381h44o25uijjbk29ga0unfck5cal.apps.googleusercontent.com
Step 3 - Android setup
Update android/build.gradle:
NOTE: You can find the latest version of googlePlayServicesAuth here and google-services here
buildscript {
    ext {
        buildToolsVersion = "29.0.2"
        minSdkVersion = 16
        compileSdkVersion = 29
        targetSdkVersion = 29
        googlePlayServicesAuthVersion = "19.0.0" // <-- add this
    }
    repositories {
        google()
        jcenter()
    }
    dependencies {
        classpath("com.android.tools.build:gradle:4.1.0")
        classpath('com.google.gms:google-services:4.3.4') // <-- add this
        // NOTE: Do not place your application dependencies here; they belong
        // in the individual module build.gradle files
    }
}
Step 4 - iOS setup
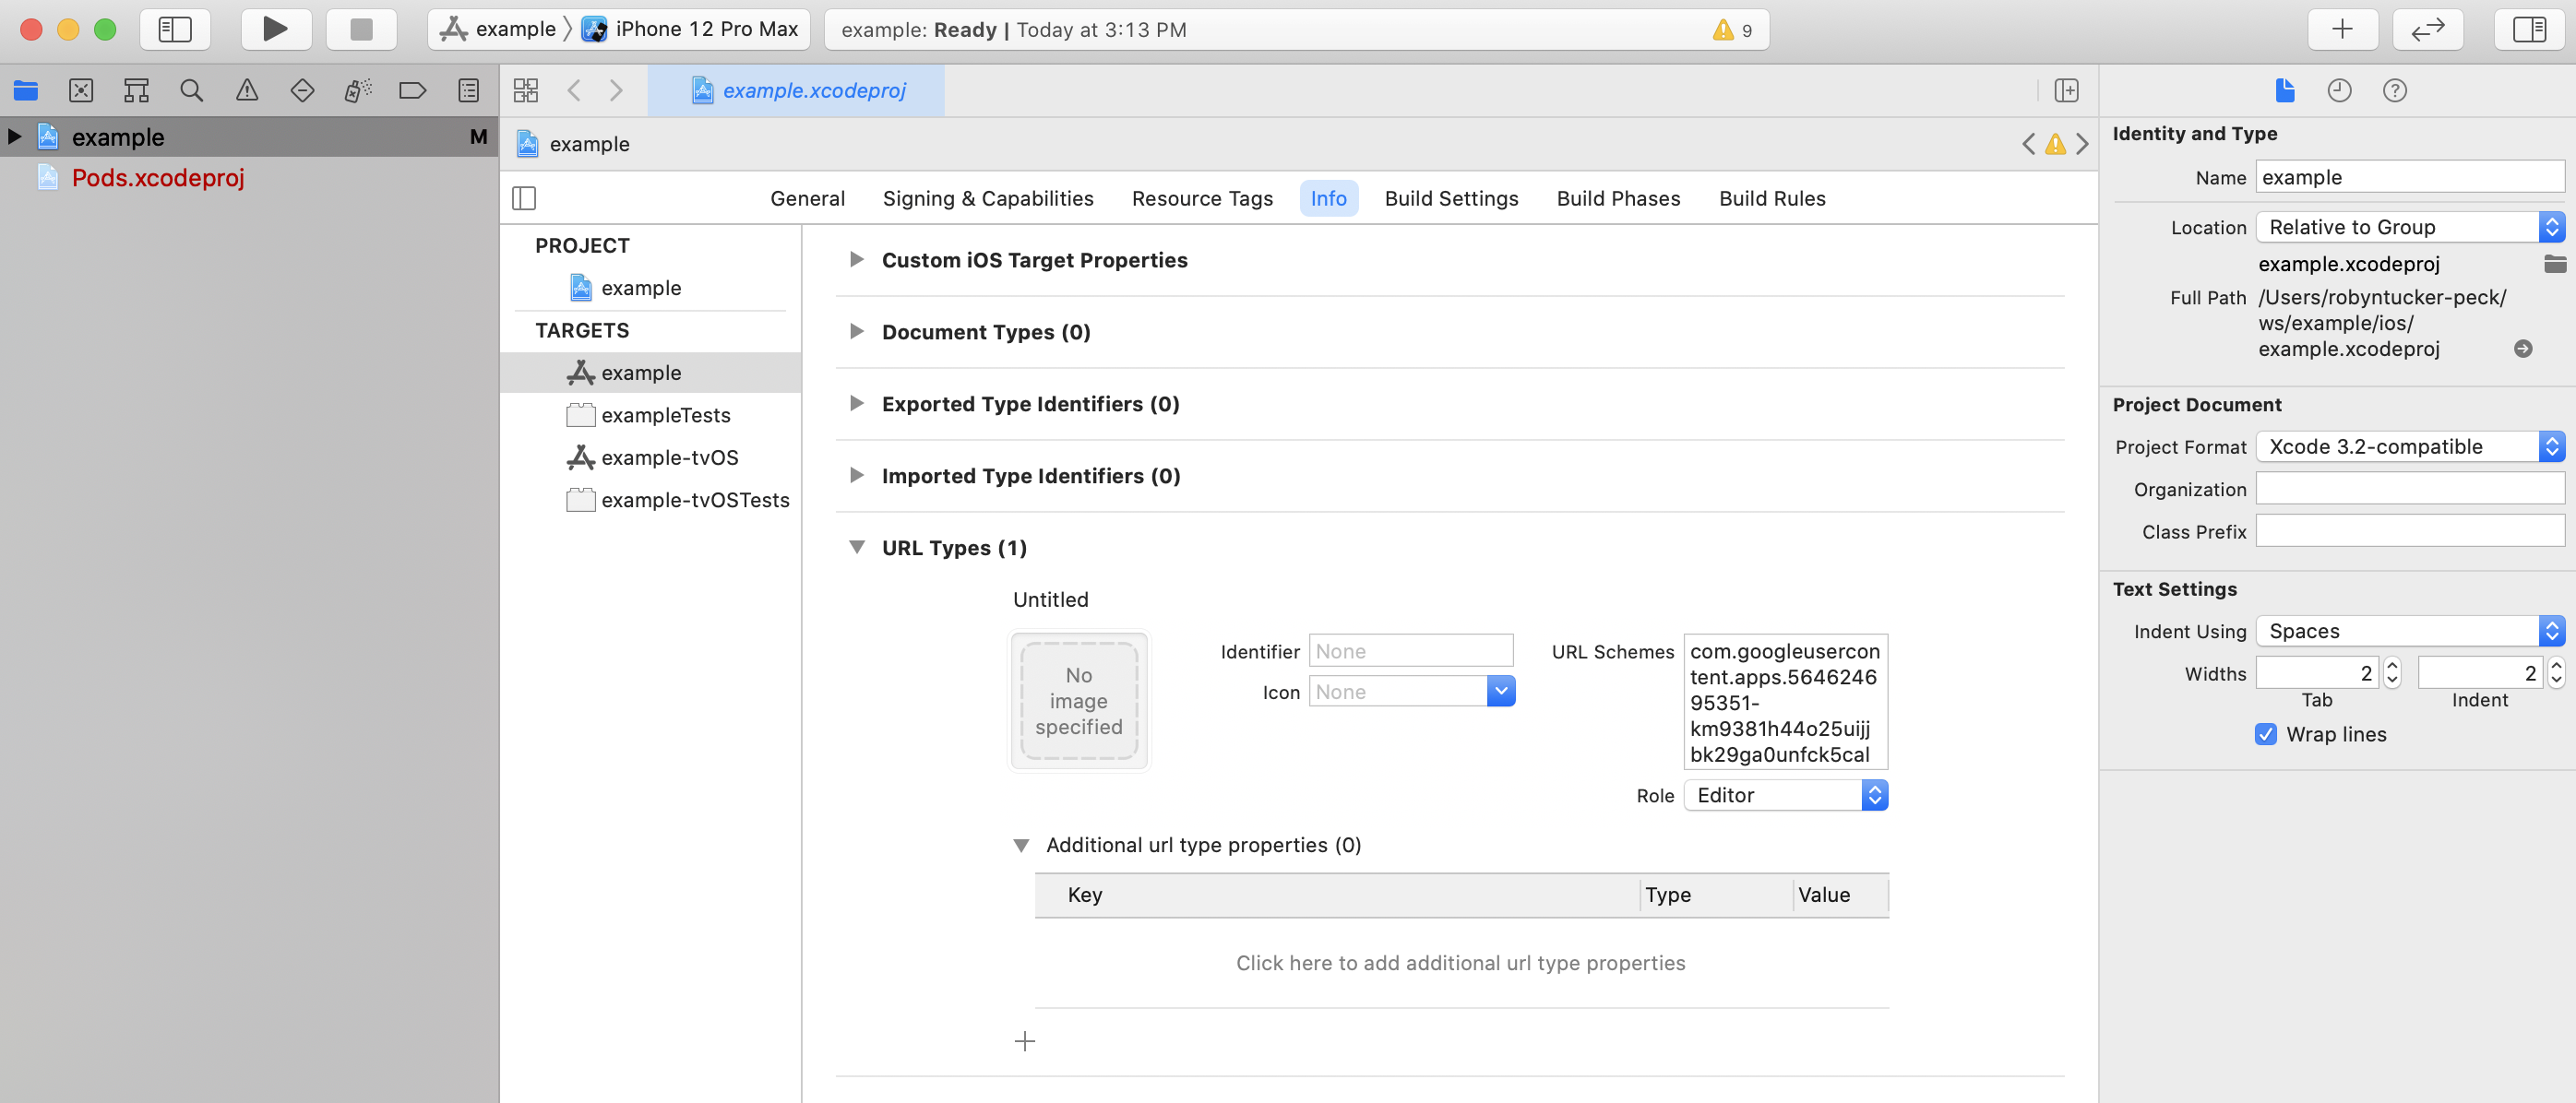
In Xcode, open Info tab as below:
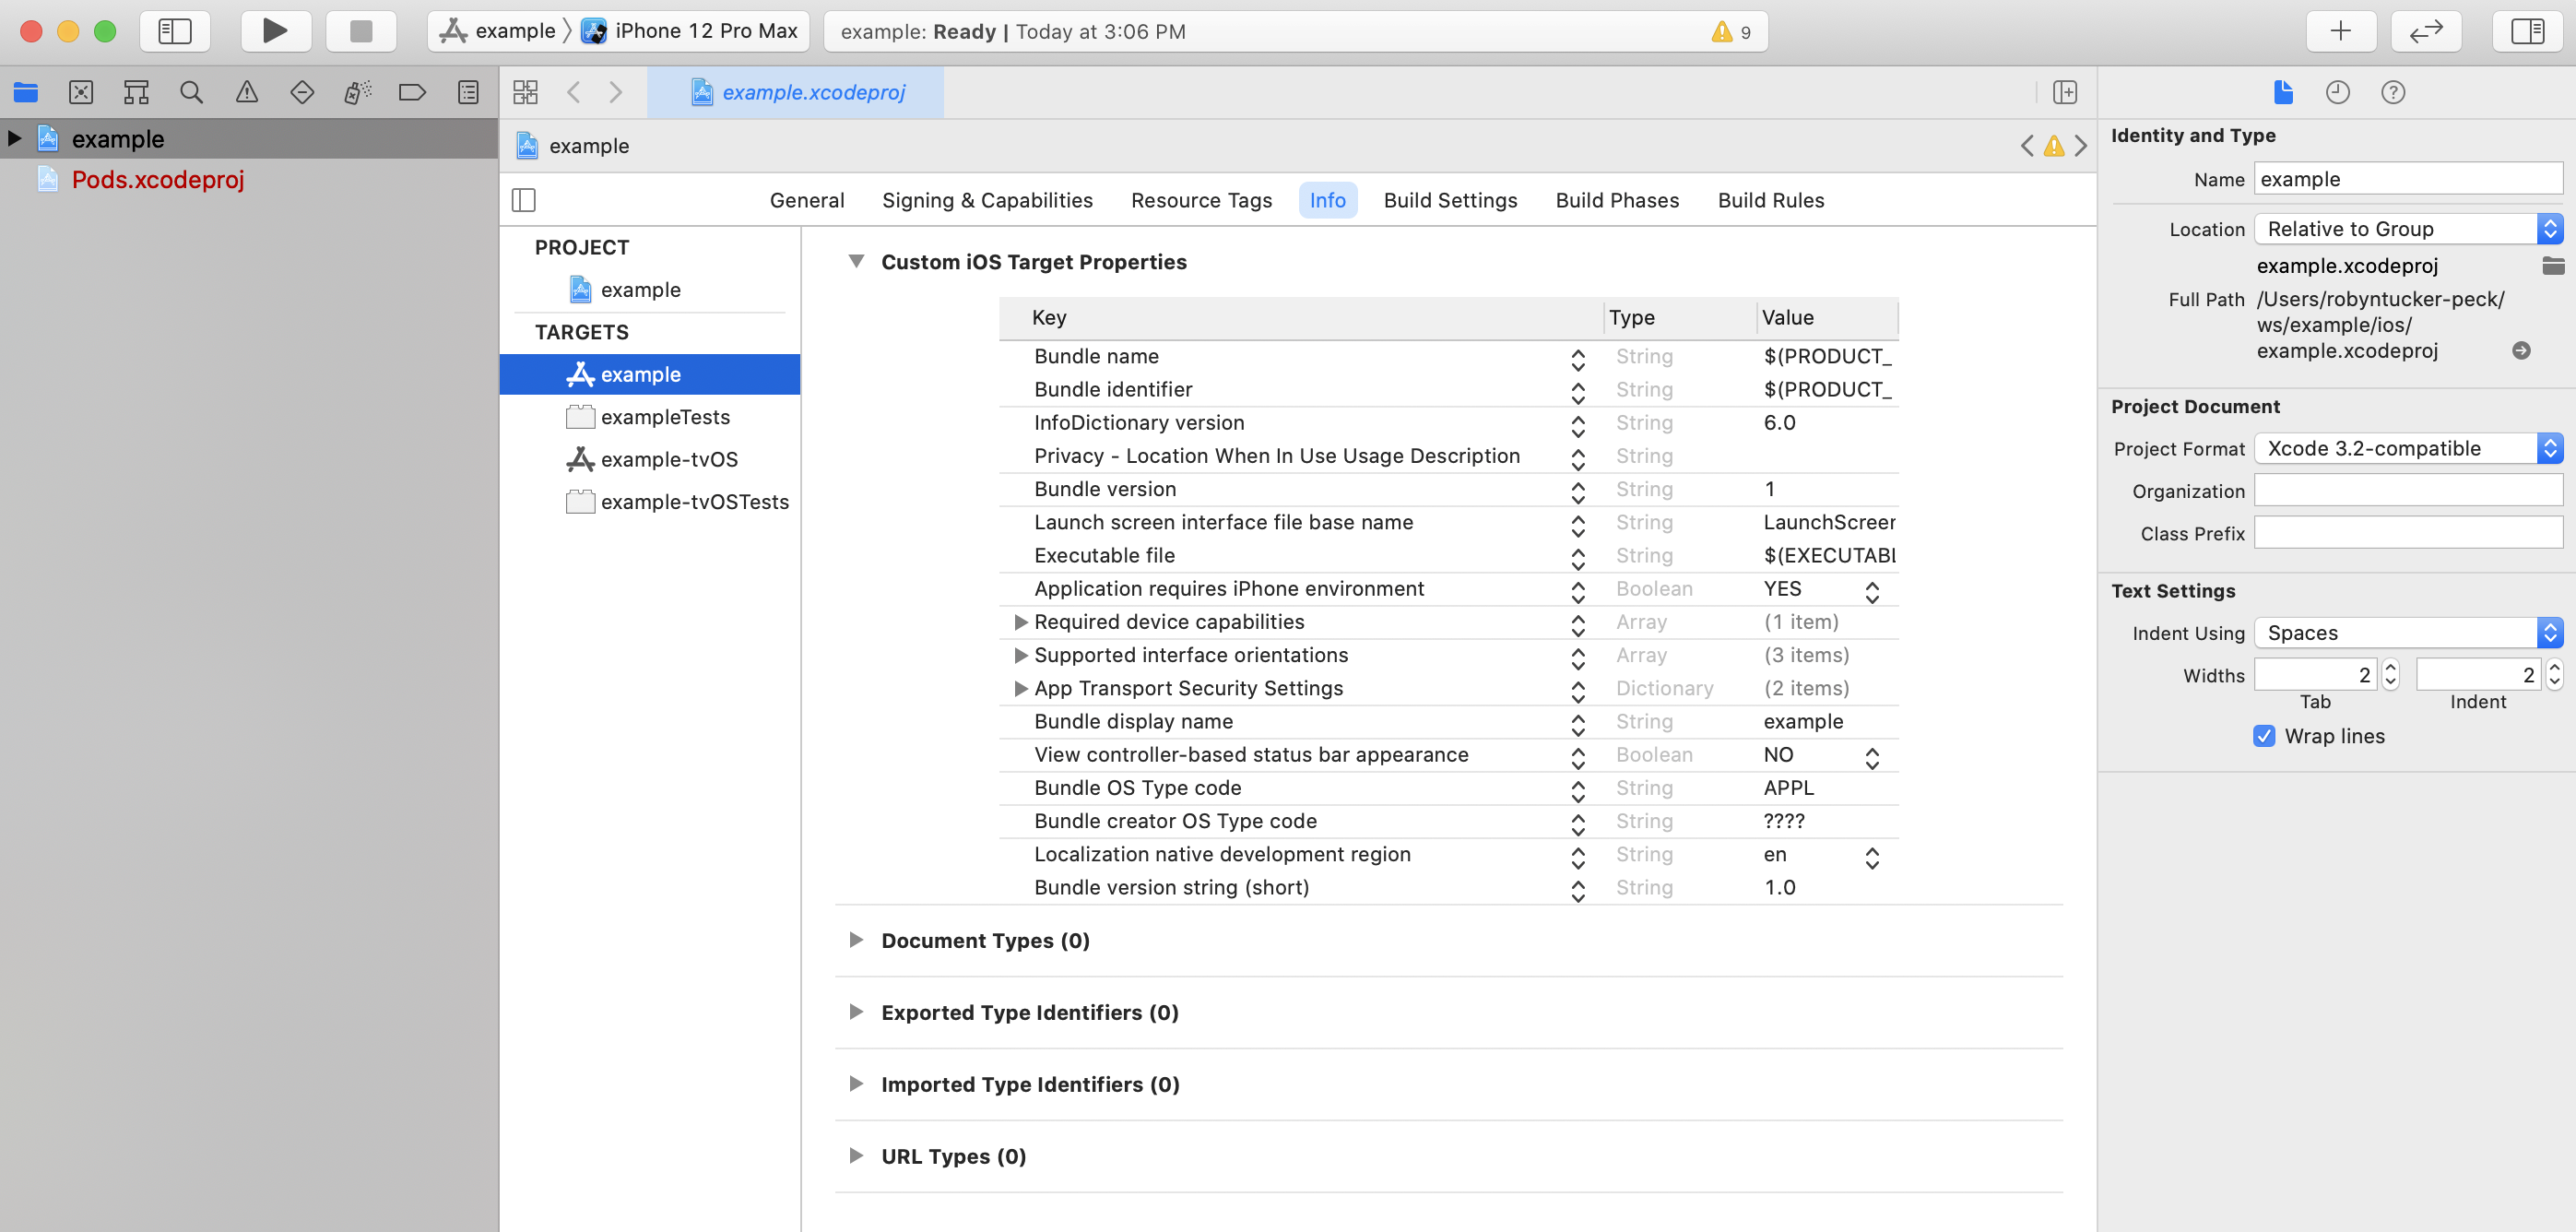
Under URL Types section, click + button. In the URL schemes field, enter your reversed iOS-Client-ID:
Step 5 - Google Signin
Replace App.js with the content below:
import React, { useState } from "react";
import {
  SafeAreaView,
  StyleSheet,
  Text,
  StatusBar,
  Button,
} from "react-native";

import { GoogleSignin } from "@react-native-community/google-signin";

GoogleSignin.configure({
  webClientId:
    "564624695351-litamdvsum4g23a49kalorvsut9v0es4.apps.googleusercontent.com",
  iosClientId:
    "564624695351-km9381h44o25uijjbk29ga0unfck5cal.apps.googleusercontent.com",
  offlineAccess: false,
});

const App = () => {
  const [userInfo, setUserInfo] = useState(null);

  const onSignIn = () => {
    GoogleSignin.hasPlayServices()
      .then(() => {
        return GoogleSignin.signIn();
      })
      .then((response) => {
        setUserInfo(response);
      })
      .catch((err) => {
        // ignore
        // console.log(err);
      });
  };

  const onSignOut = () => {
    GoogleSignin.signOut()
      .then(() => {
        setUserInfo(null);
      })
      .catch((err) => {
        // ignore
      });
  };

  return (
    <>
      <StatusBar barStyle="dark-content" />
      <SafeAreaView>
        {userInfo ? (
          <>
            <Text>
              Hello {`${userInfo.user.givenName} ${userInfo.user.familyName}`}
            </Text>
            <Button title="Sign out" onPress={onSignOut} />
          </>
        ) : (
          <Button title="Google Login" onPress={onSignIn} />
        )}
      </SafeAreaView>
    </>
  );
};

const styles = StyleSheet.create({});

export default App;
Now you can start your app with npx react-native command
NOTE: All Google client IDs (*-Client-ID) used in this app are removed after this repo is published. Please make sure you create your own *-Client-IDs